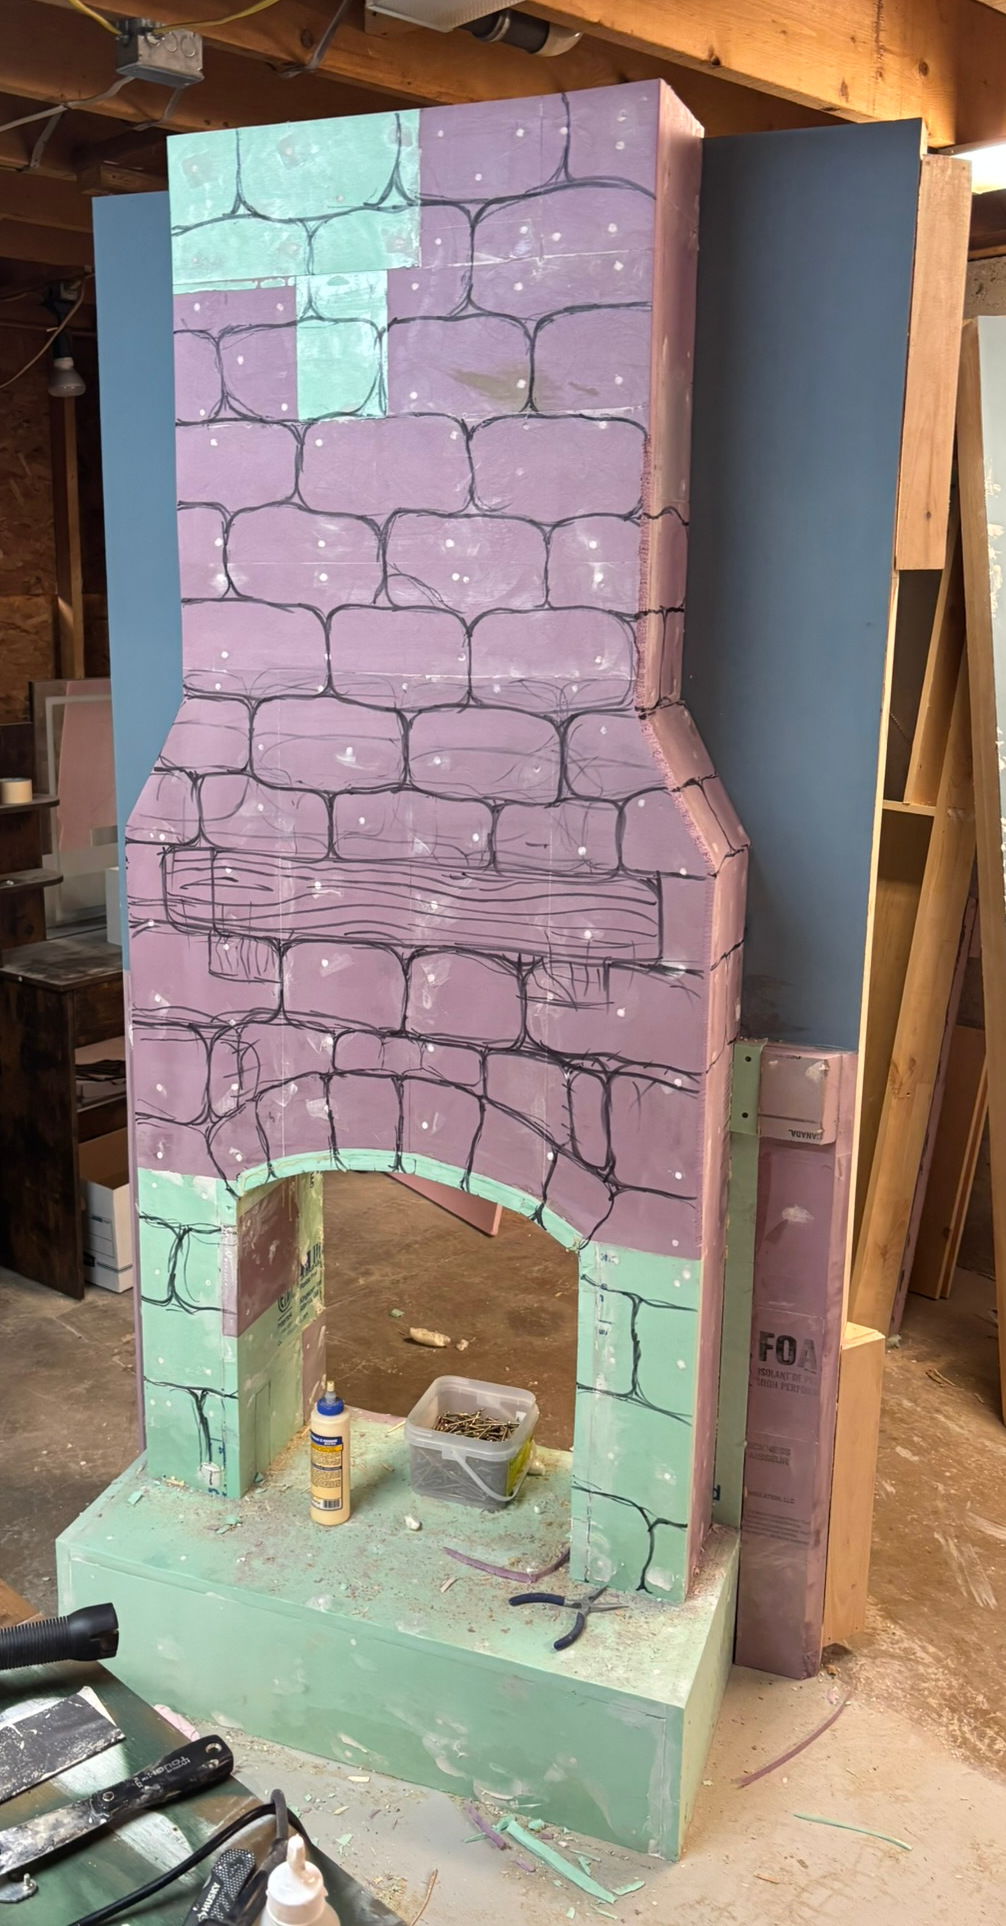
Marker in hand, I took it to the fireplace to lay out where the stones should be before the carving starts with the rotary tool.
March 20, 2025


March 20, 2025
Marker in hand, I took it to the fireplace to lay out where the stones should be before the carving starts with the rotary tool.
March 18, 2025
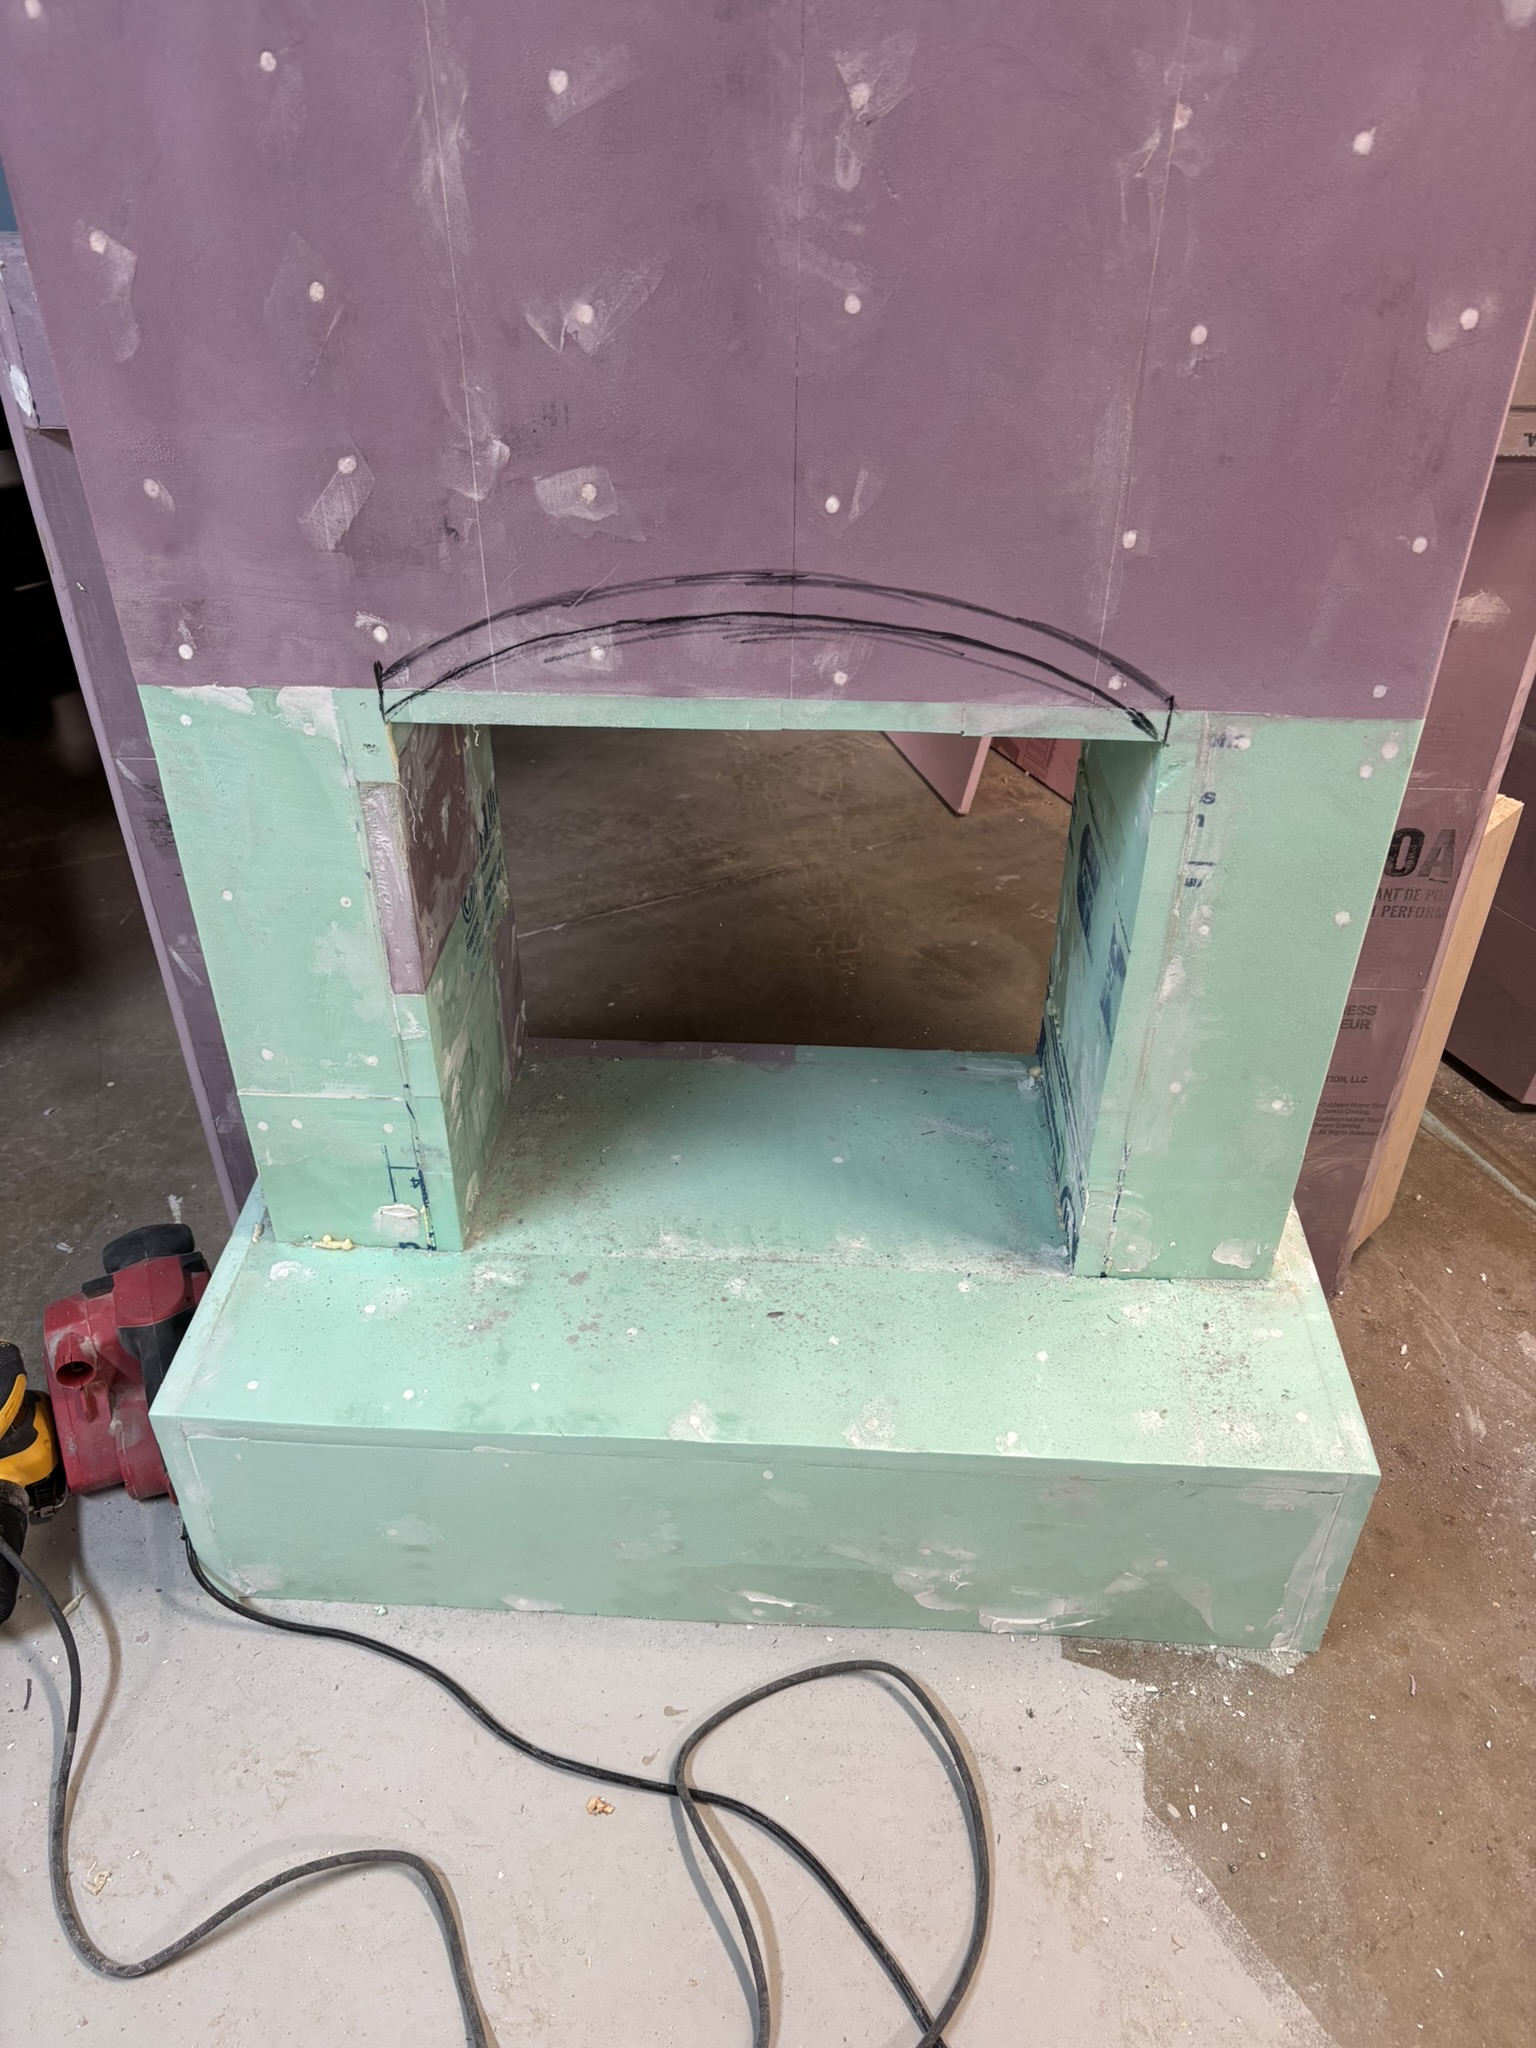
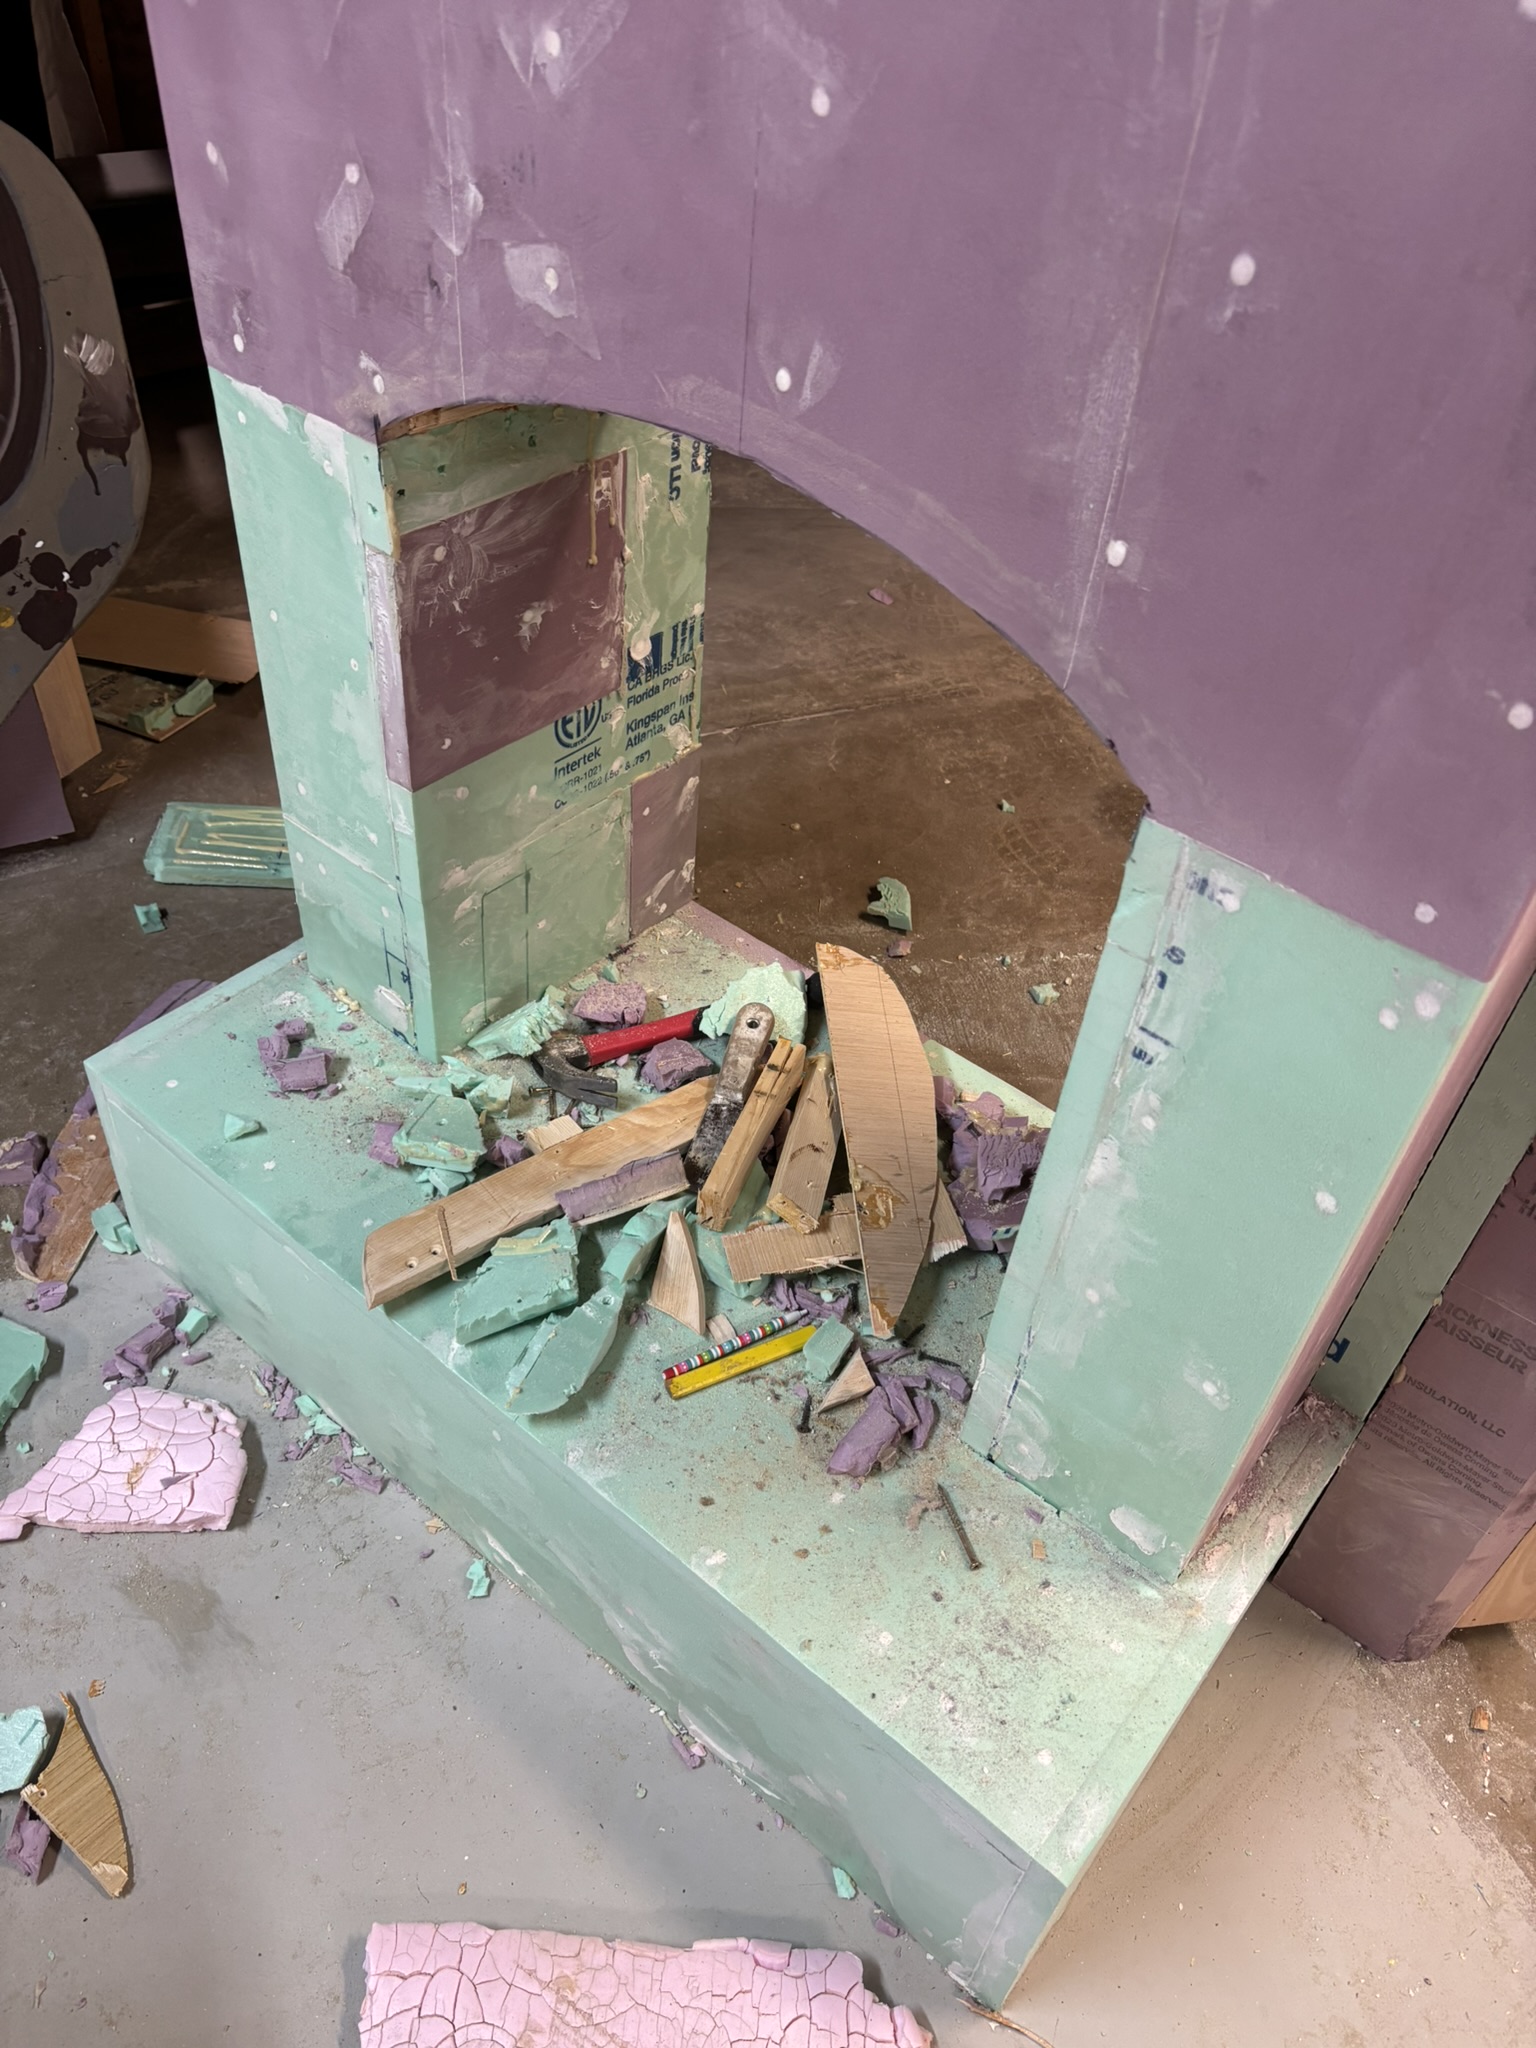
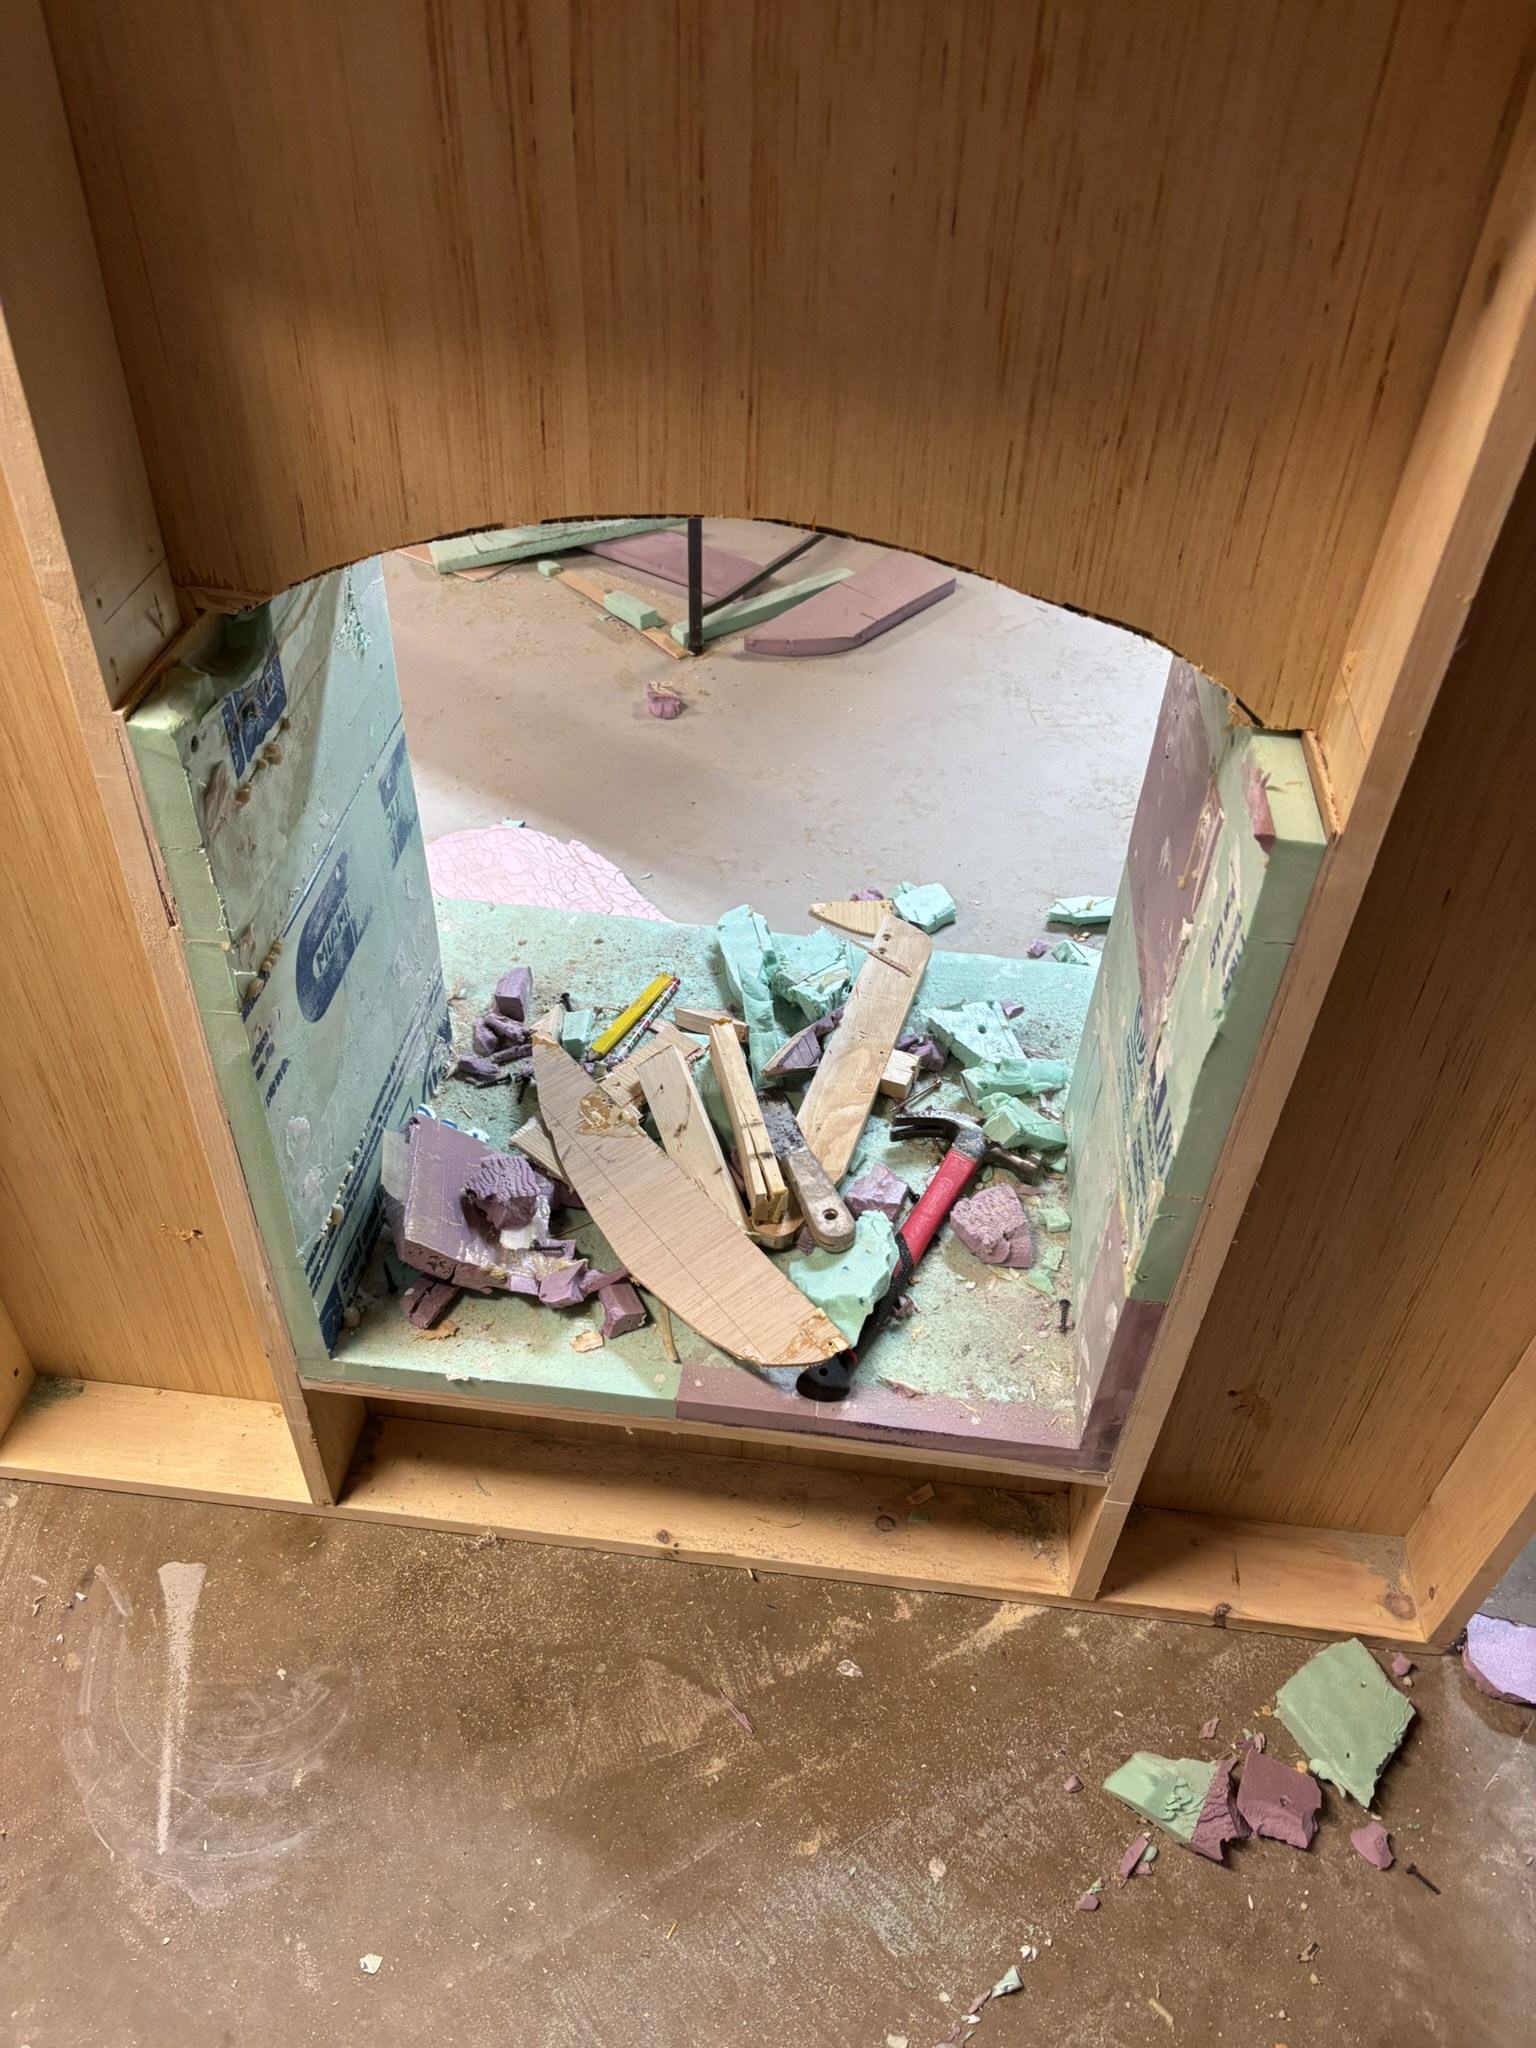
The square opening of the fireplace just wasn't feeling right so I grabbed my jigsaw to give it a nice little arch, much better! 👍
March 16, 2025
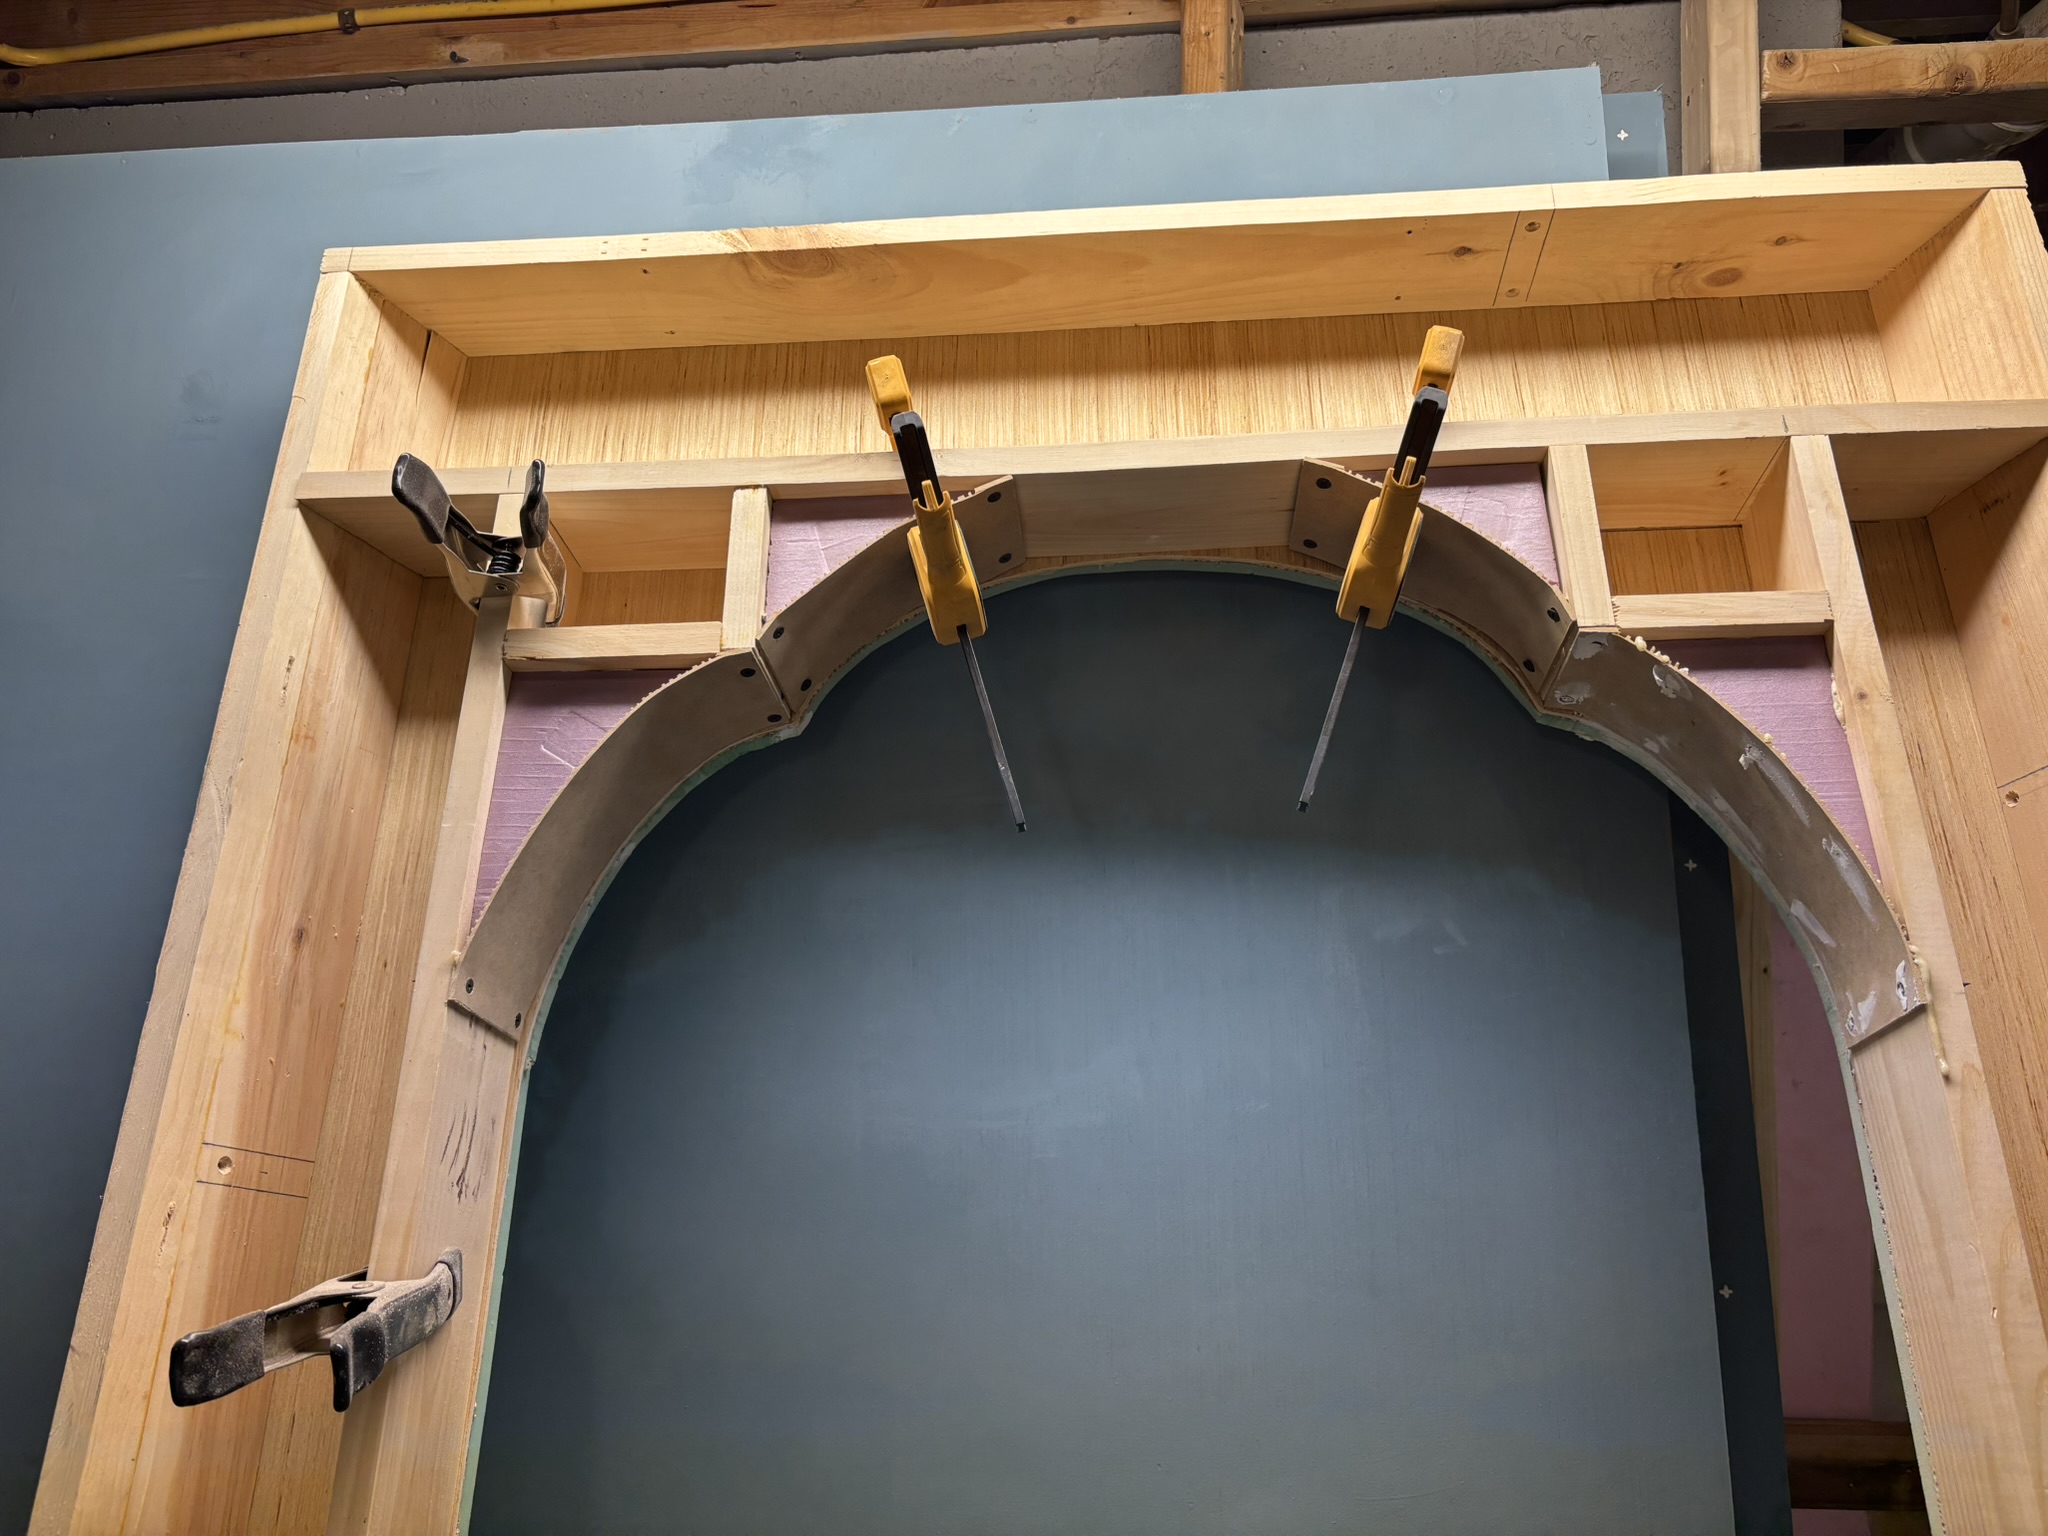
The main window is shaping up nicely! I was pizzled for a bit about what material to use for the curves. I ended up using some hardboard and consecutively scoring along one side carefully which allowed me to gentle bend them and screw into place. There is foam inside to support the structure and with a little Gorilla glue any gaps should fill right in.
March 12, 2025
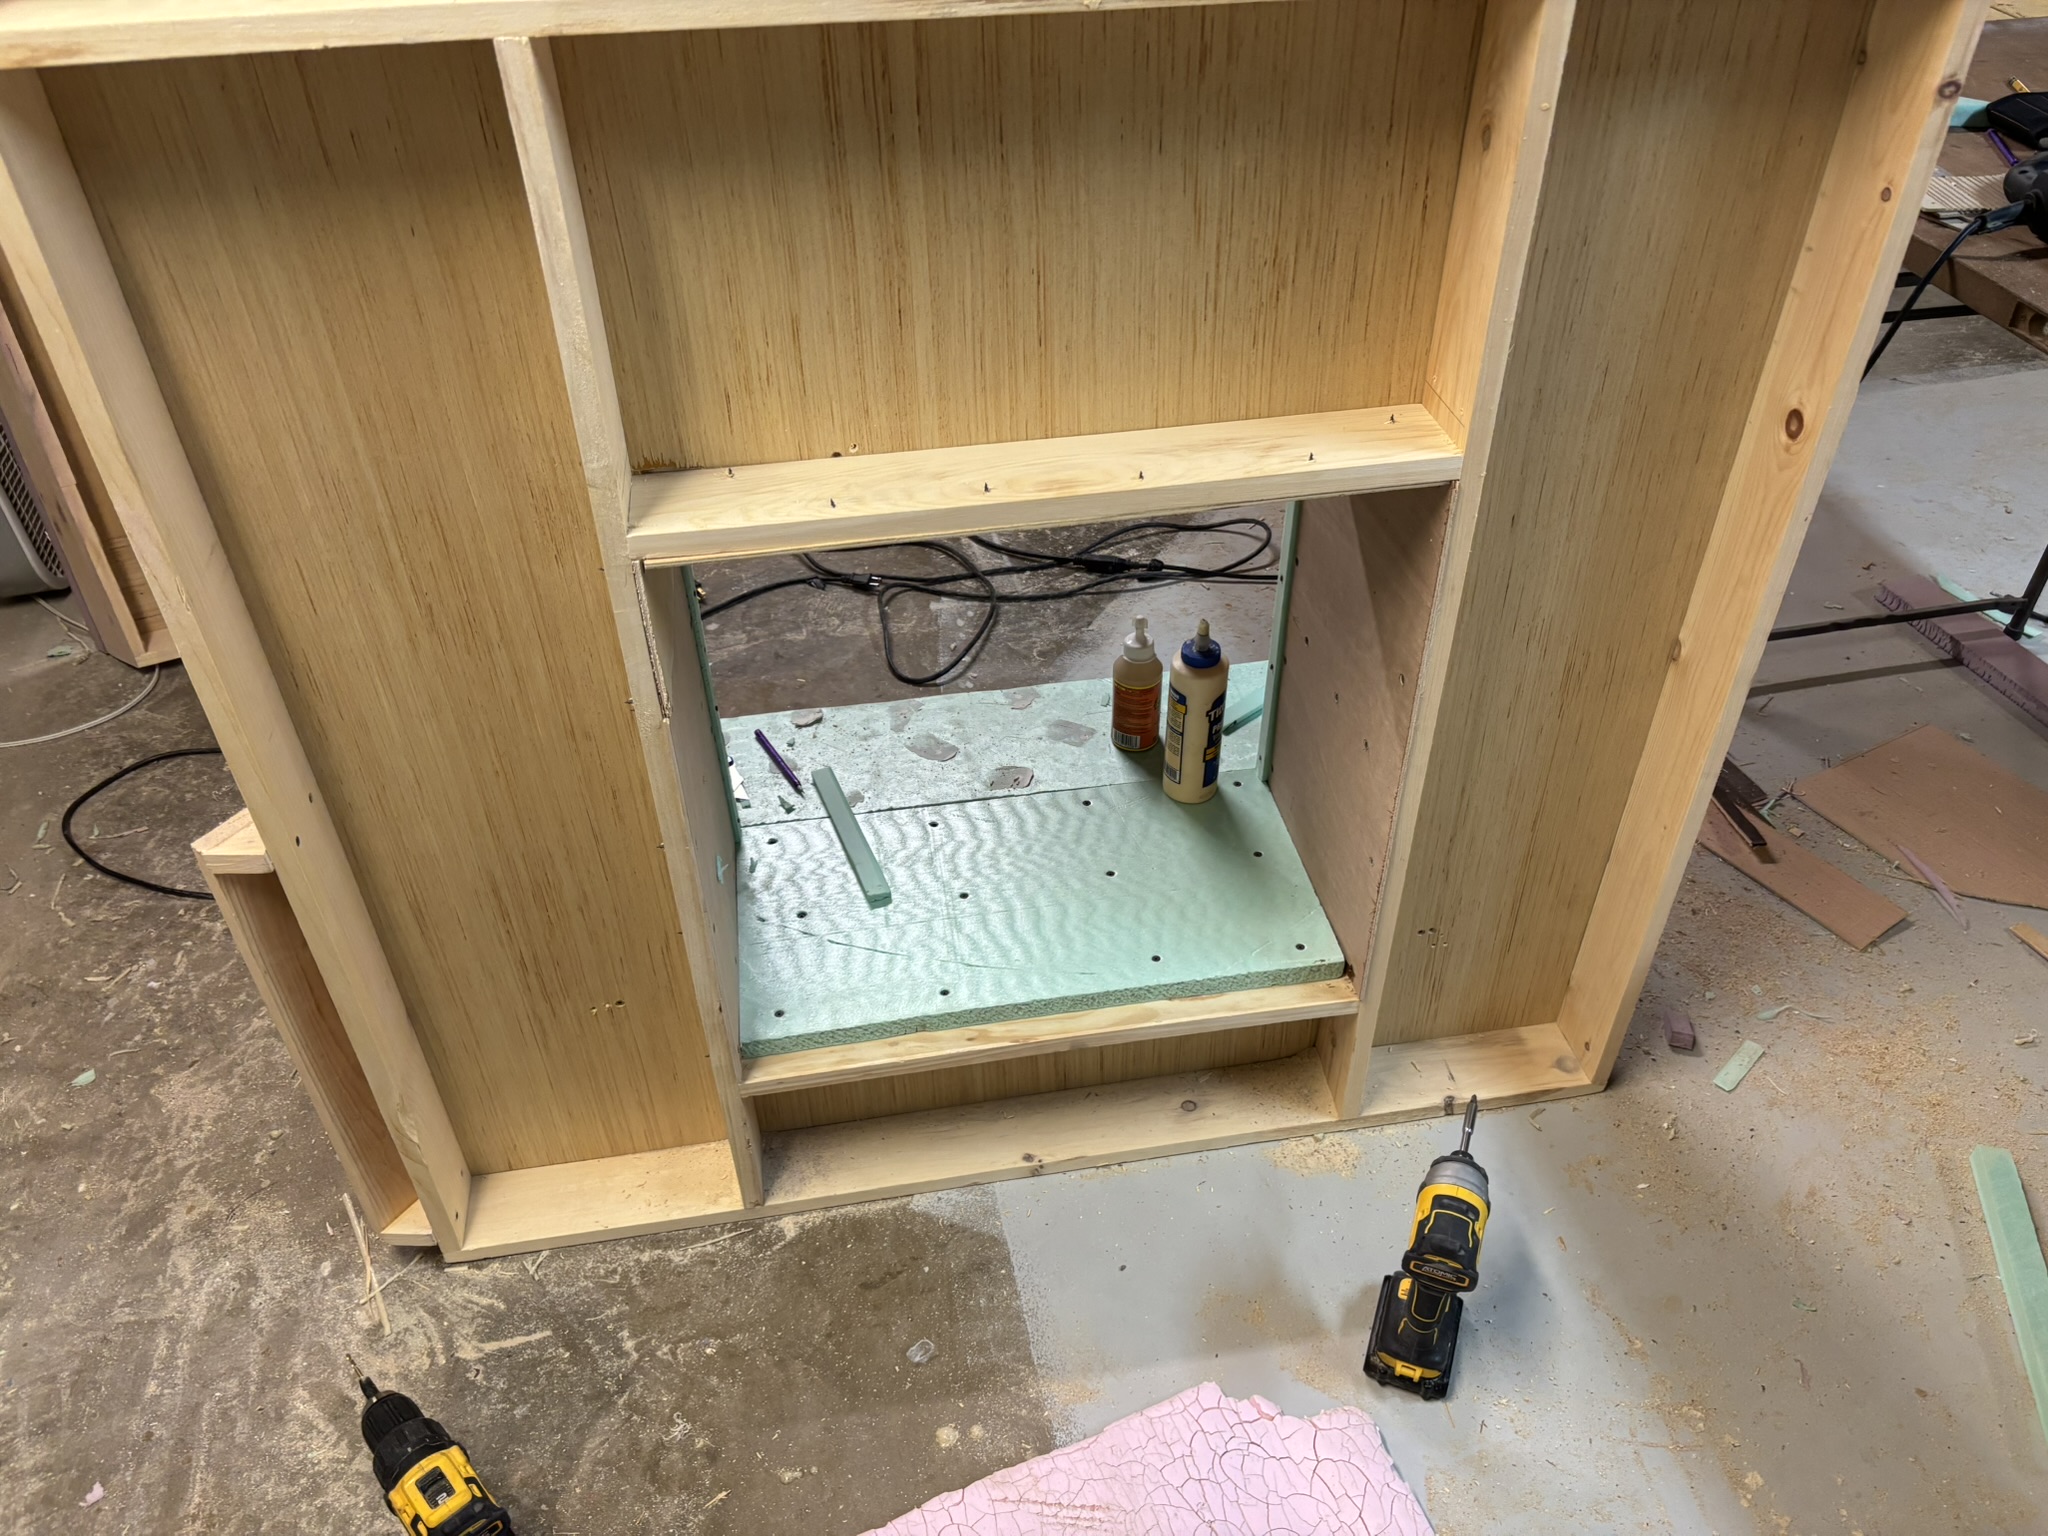
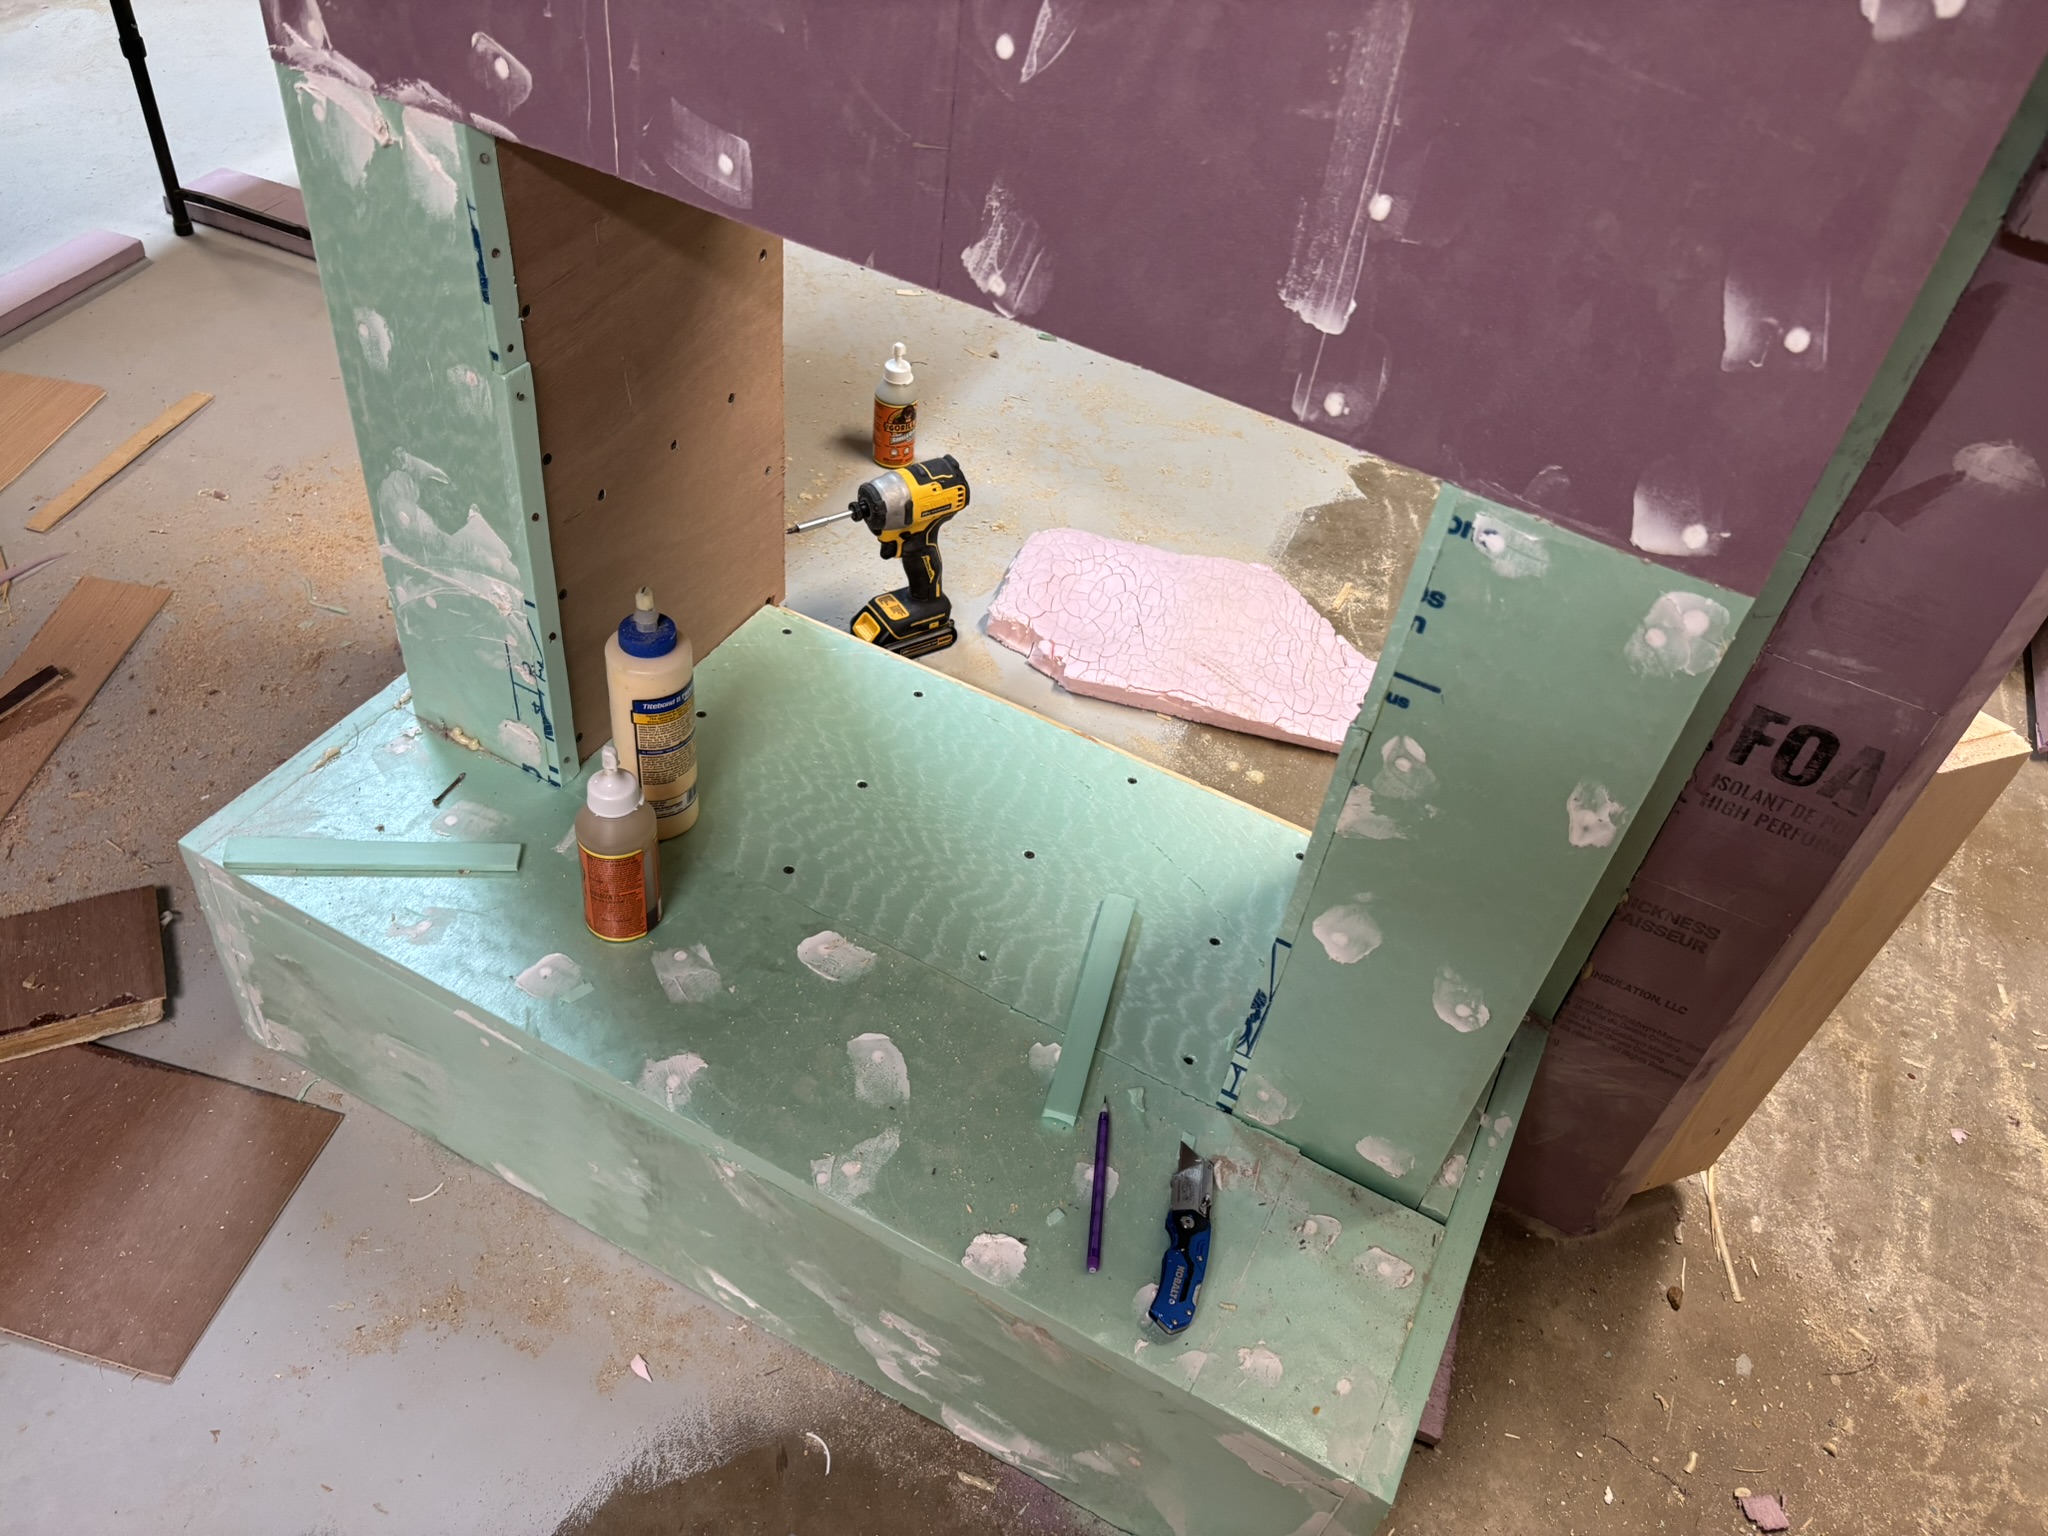
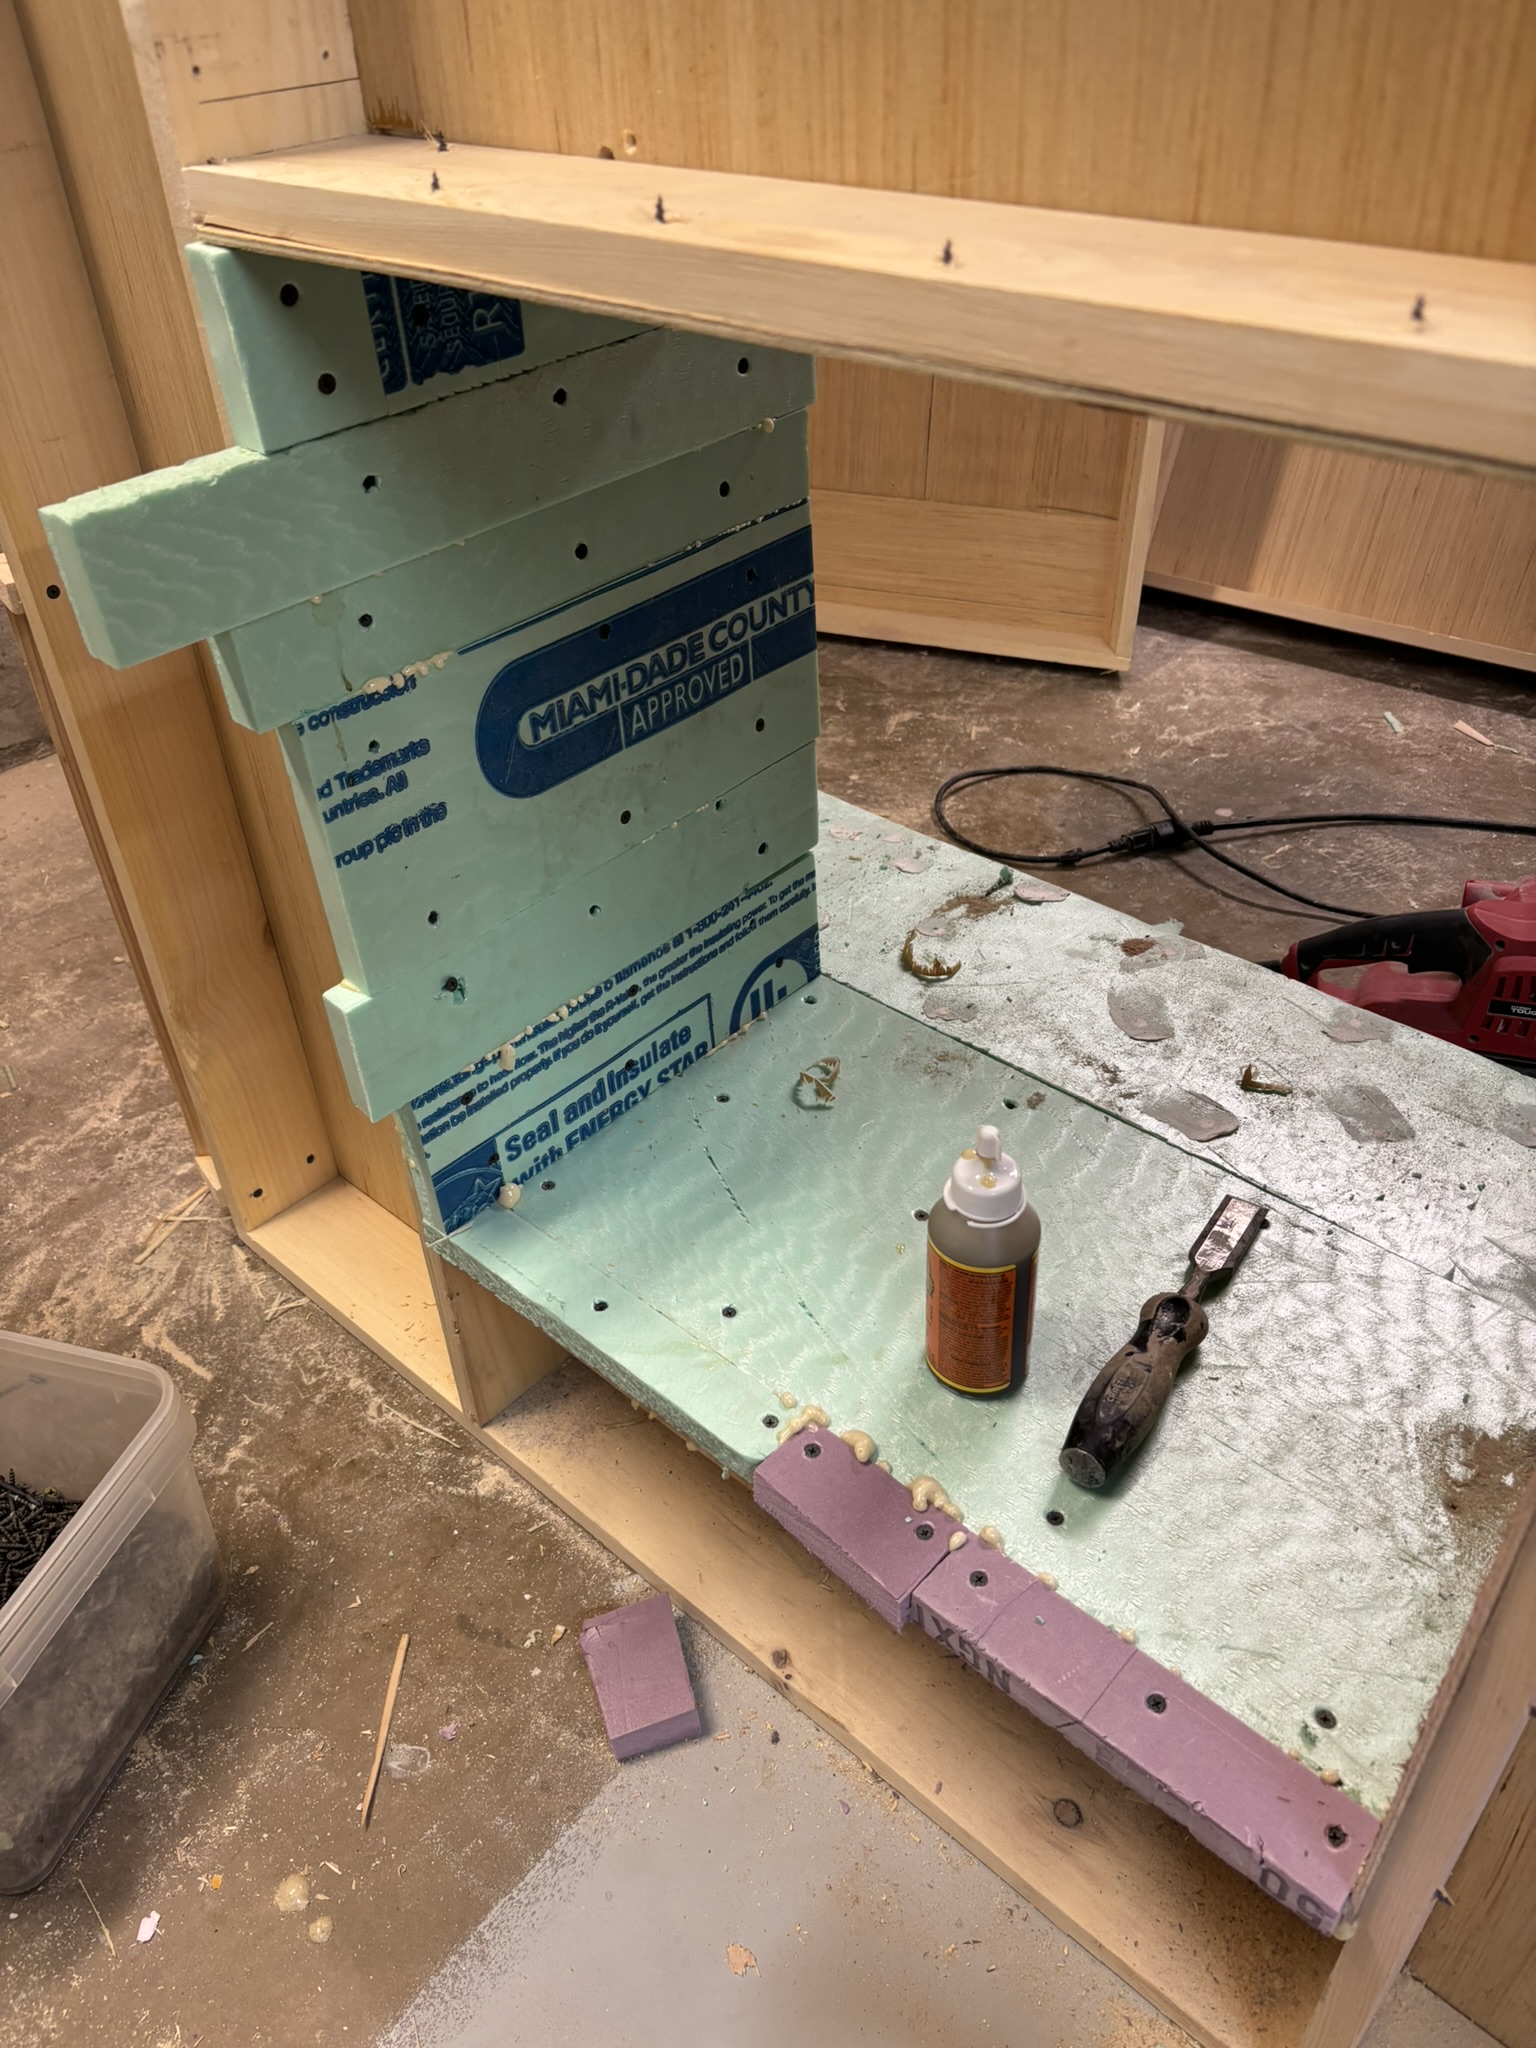
I have the back of the fireplace opened up some, I wanted to make sure the fireplace went deeper into the wall to give it the appearance of a flue. While running low on foam I have been making great use of my scraps on this one, once it's puttied and shaped the seams shouldn't be visible.
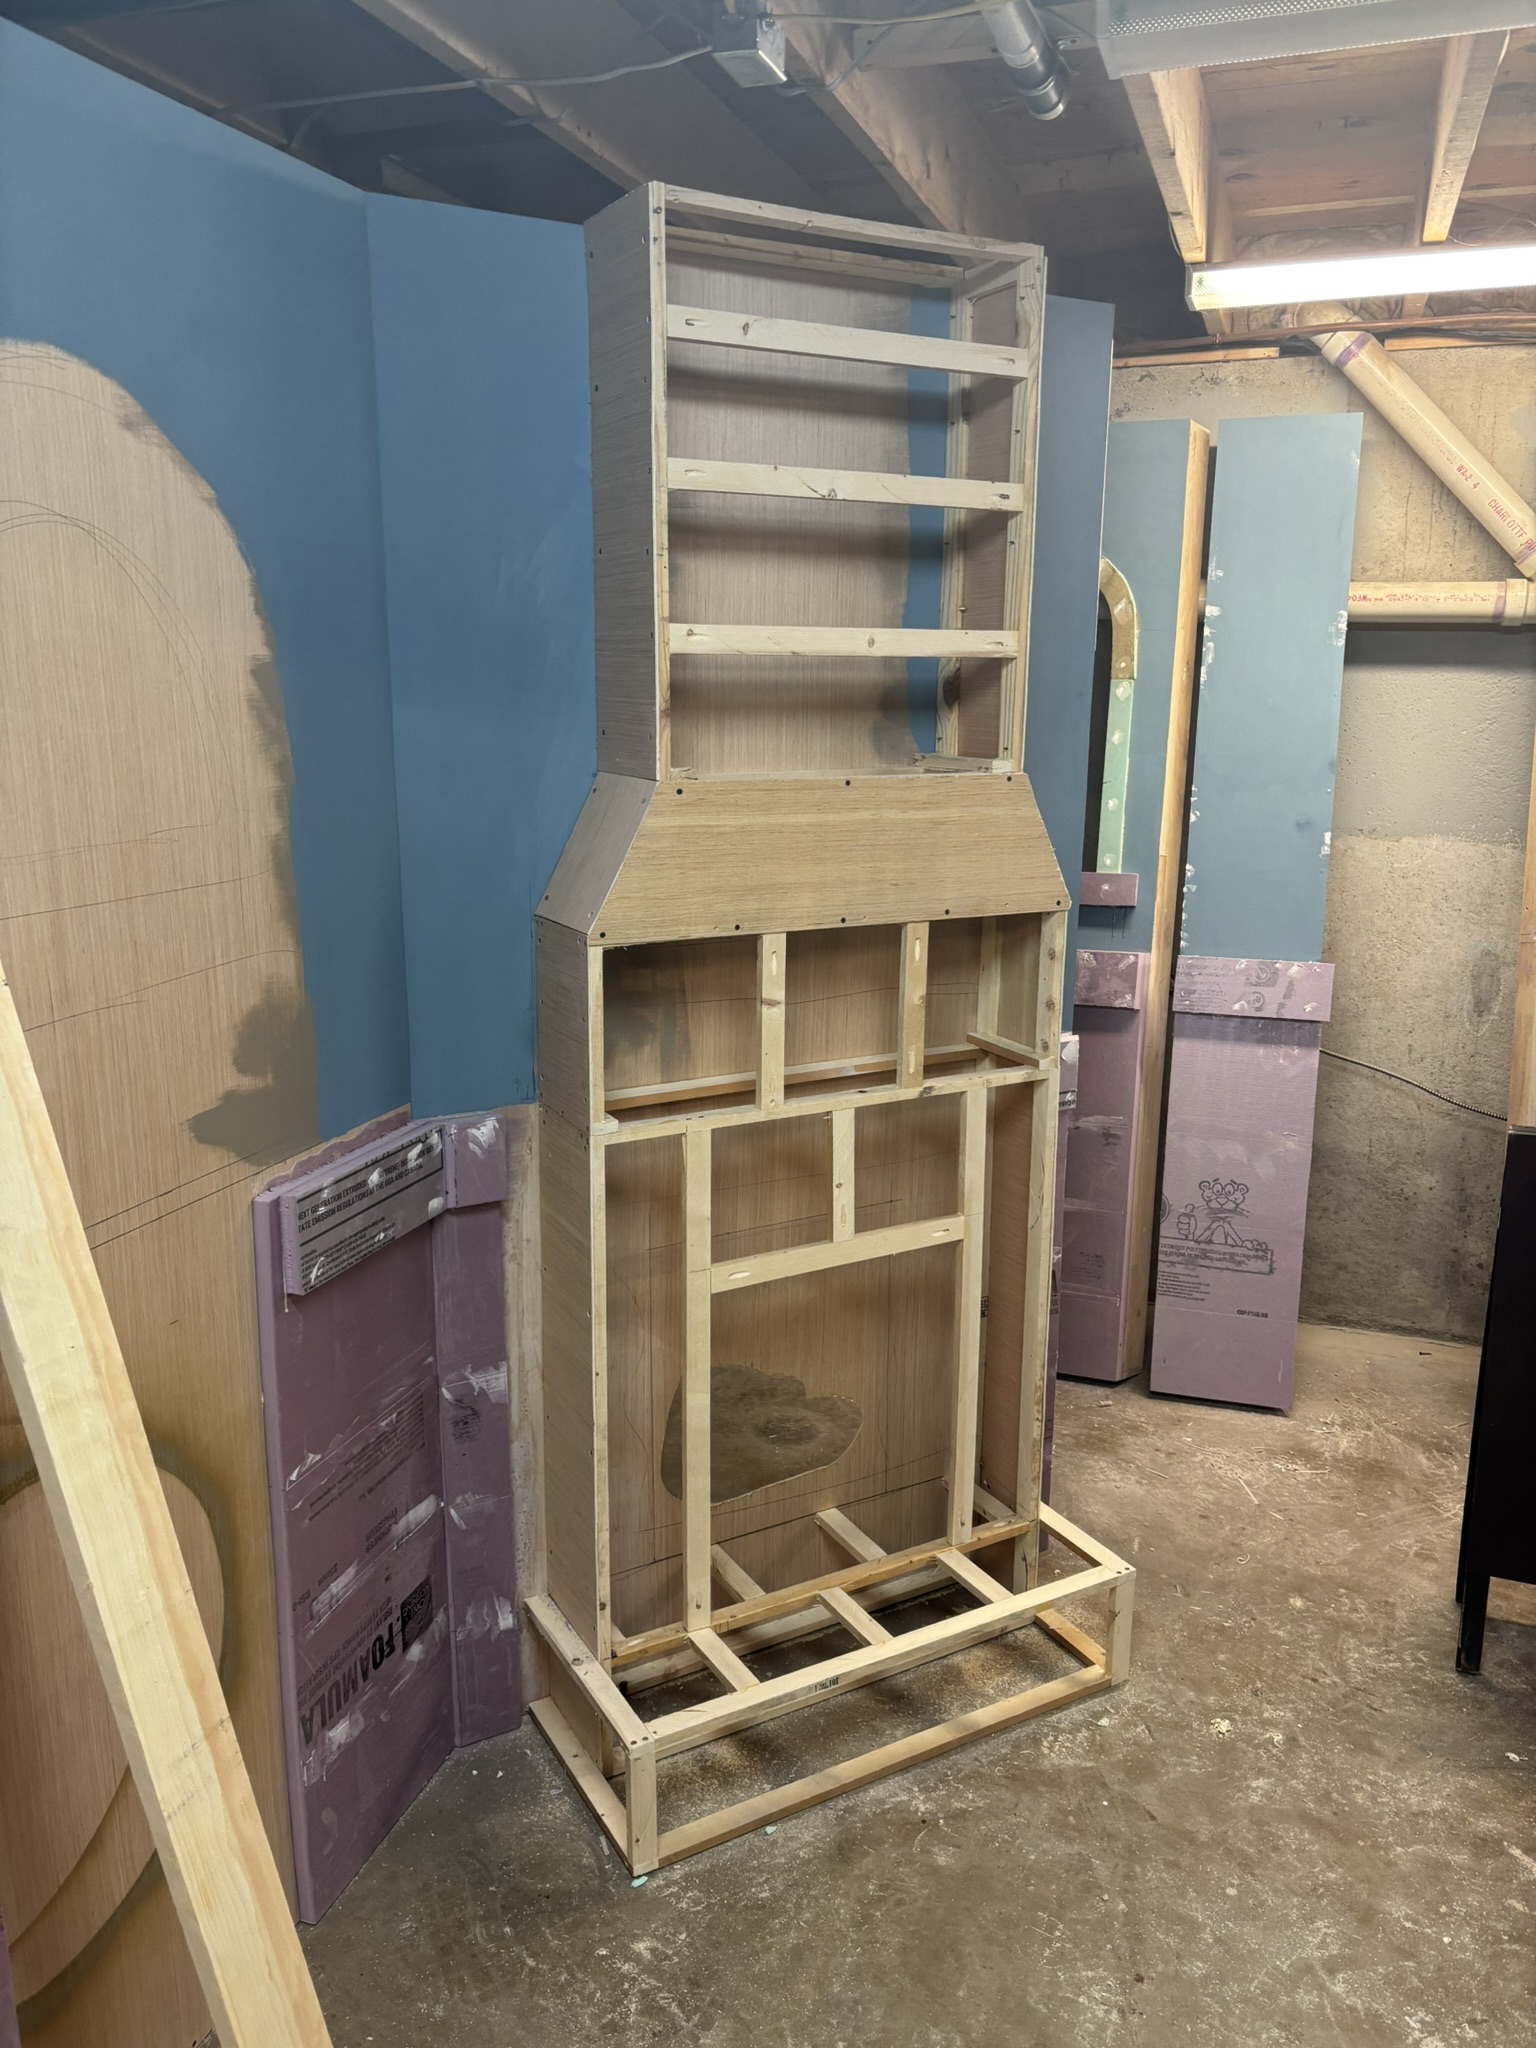
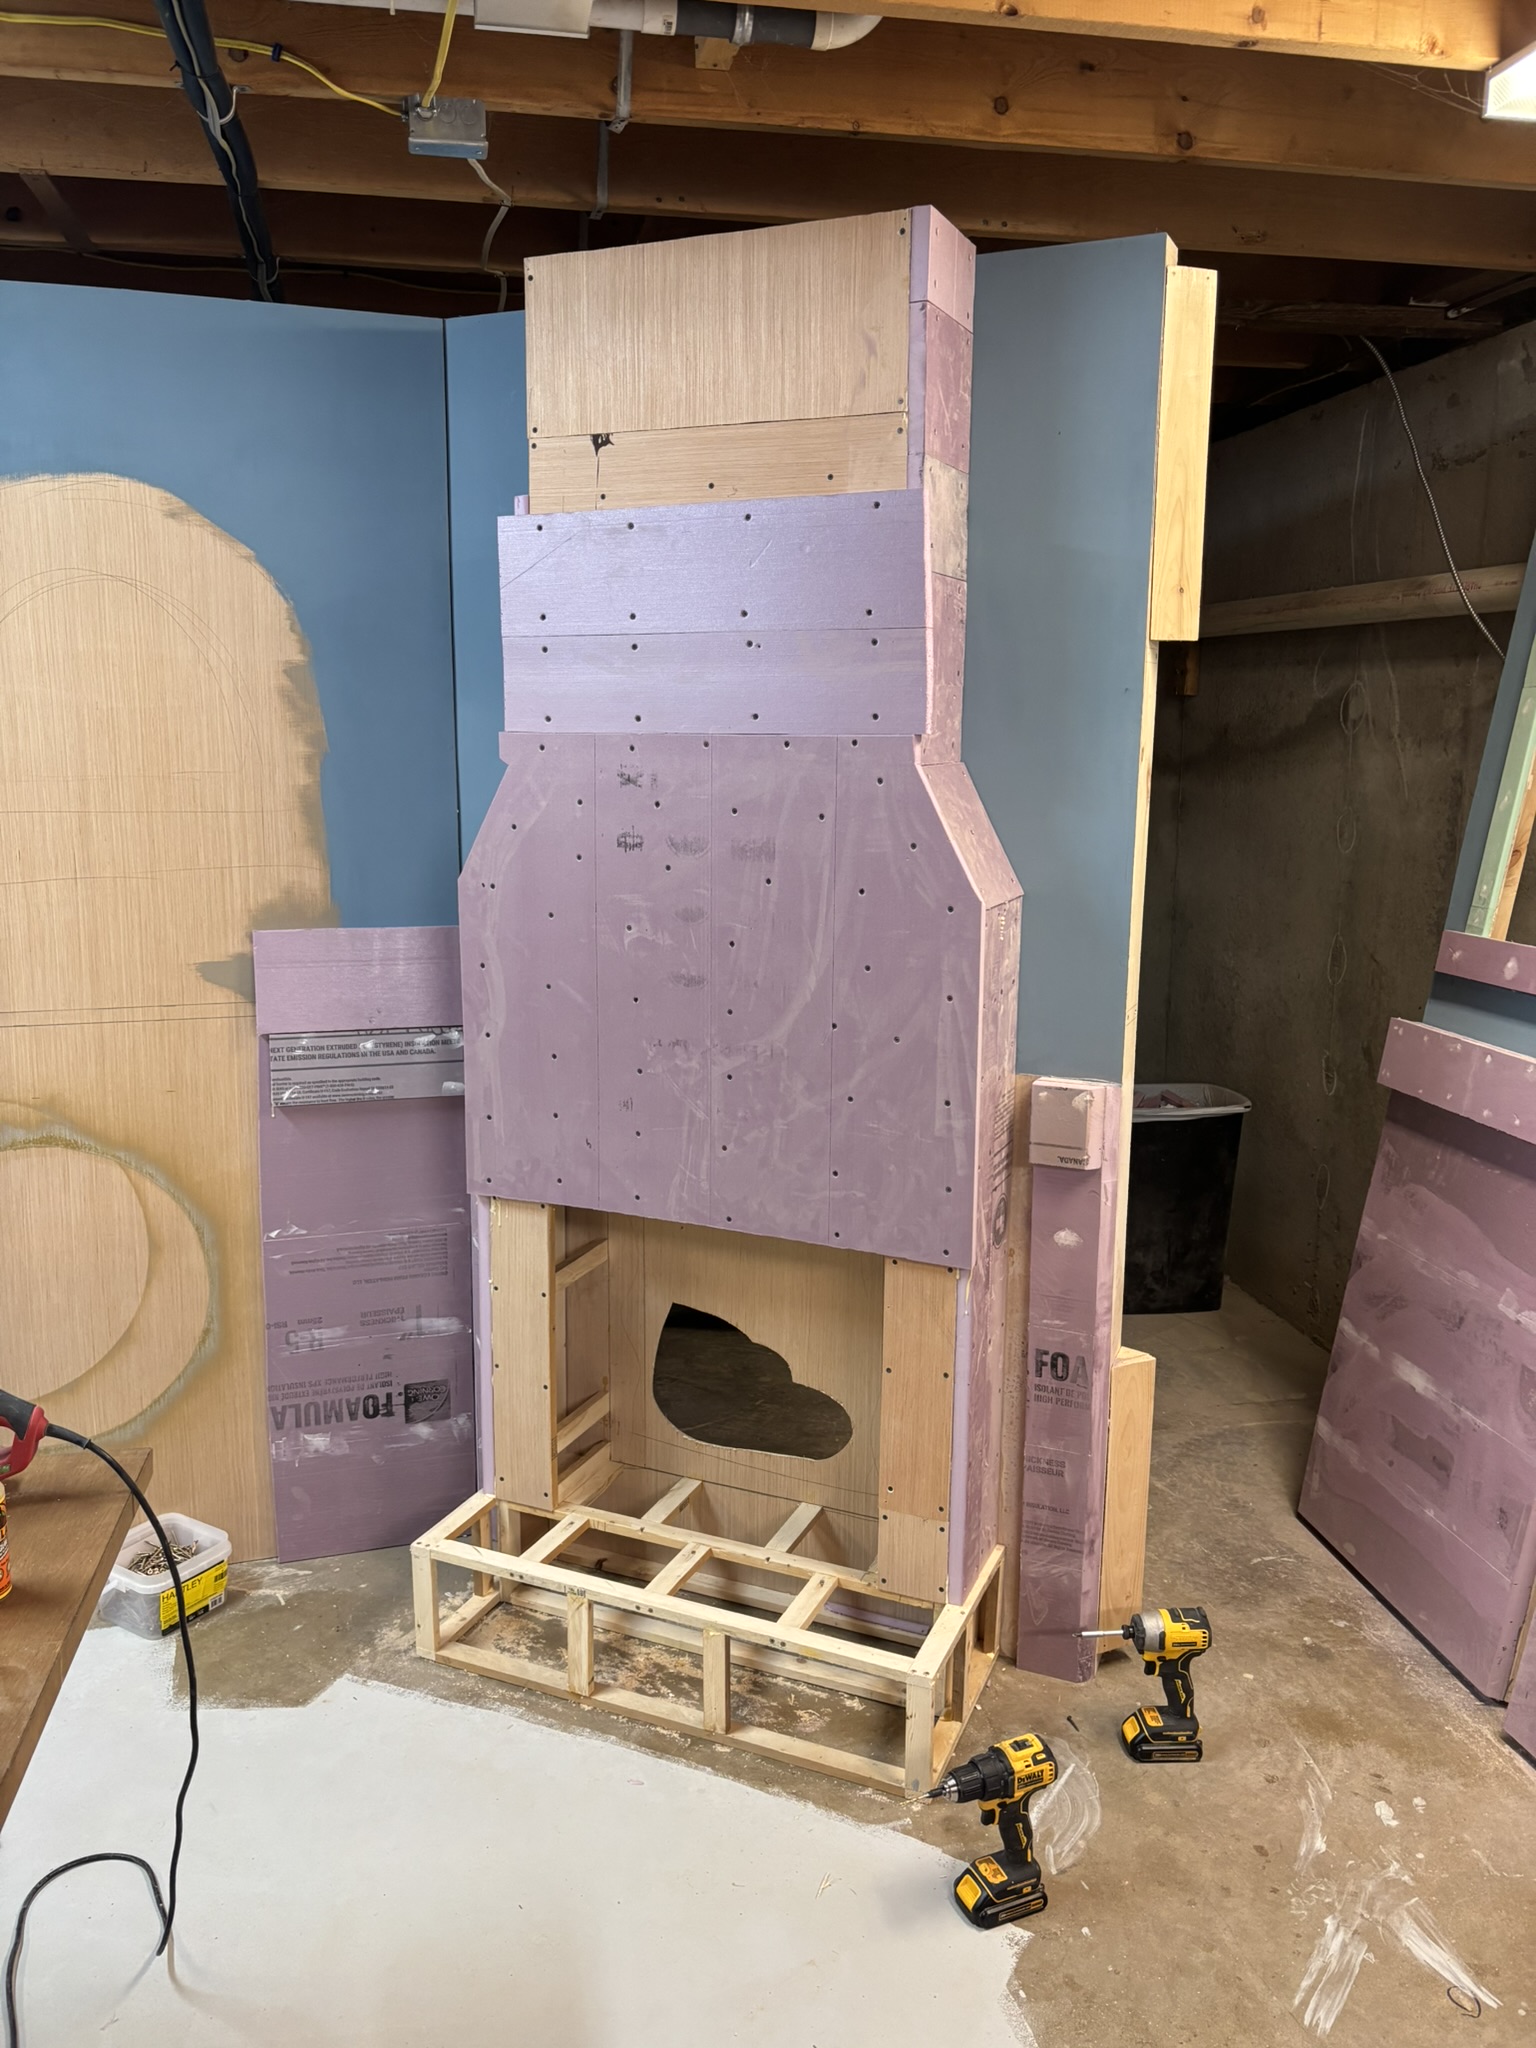
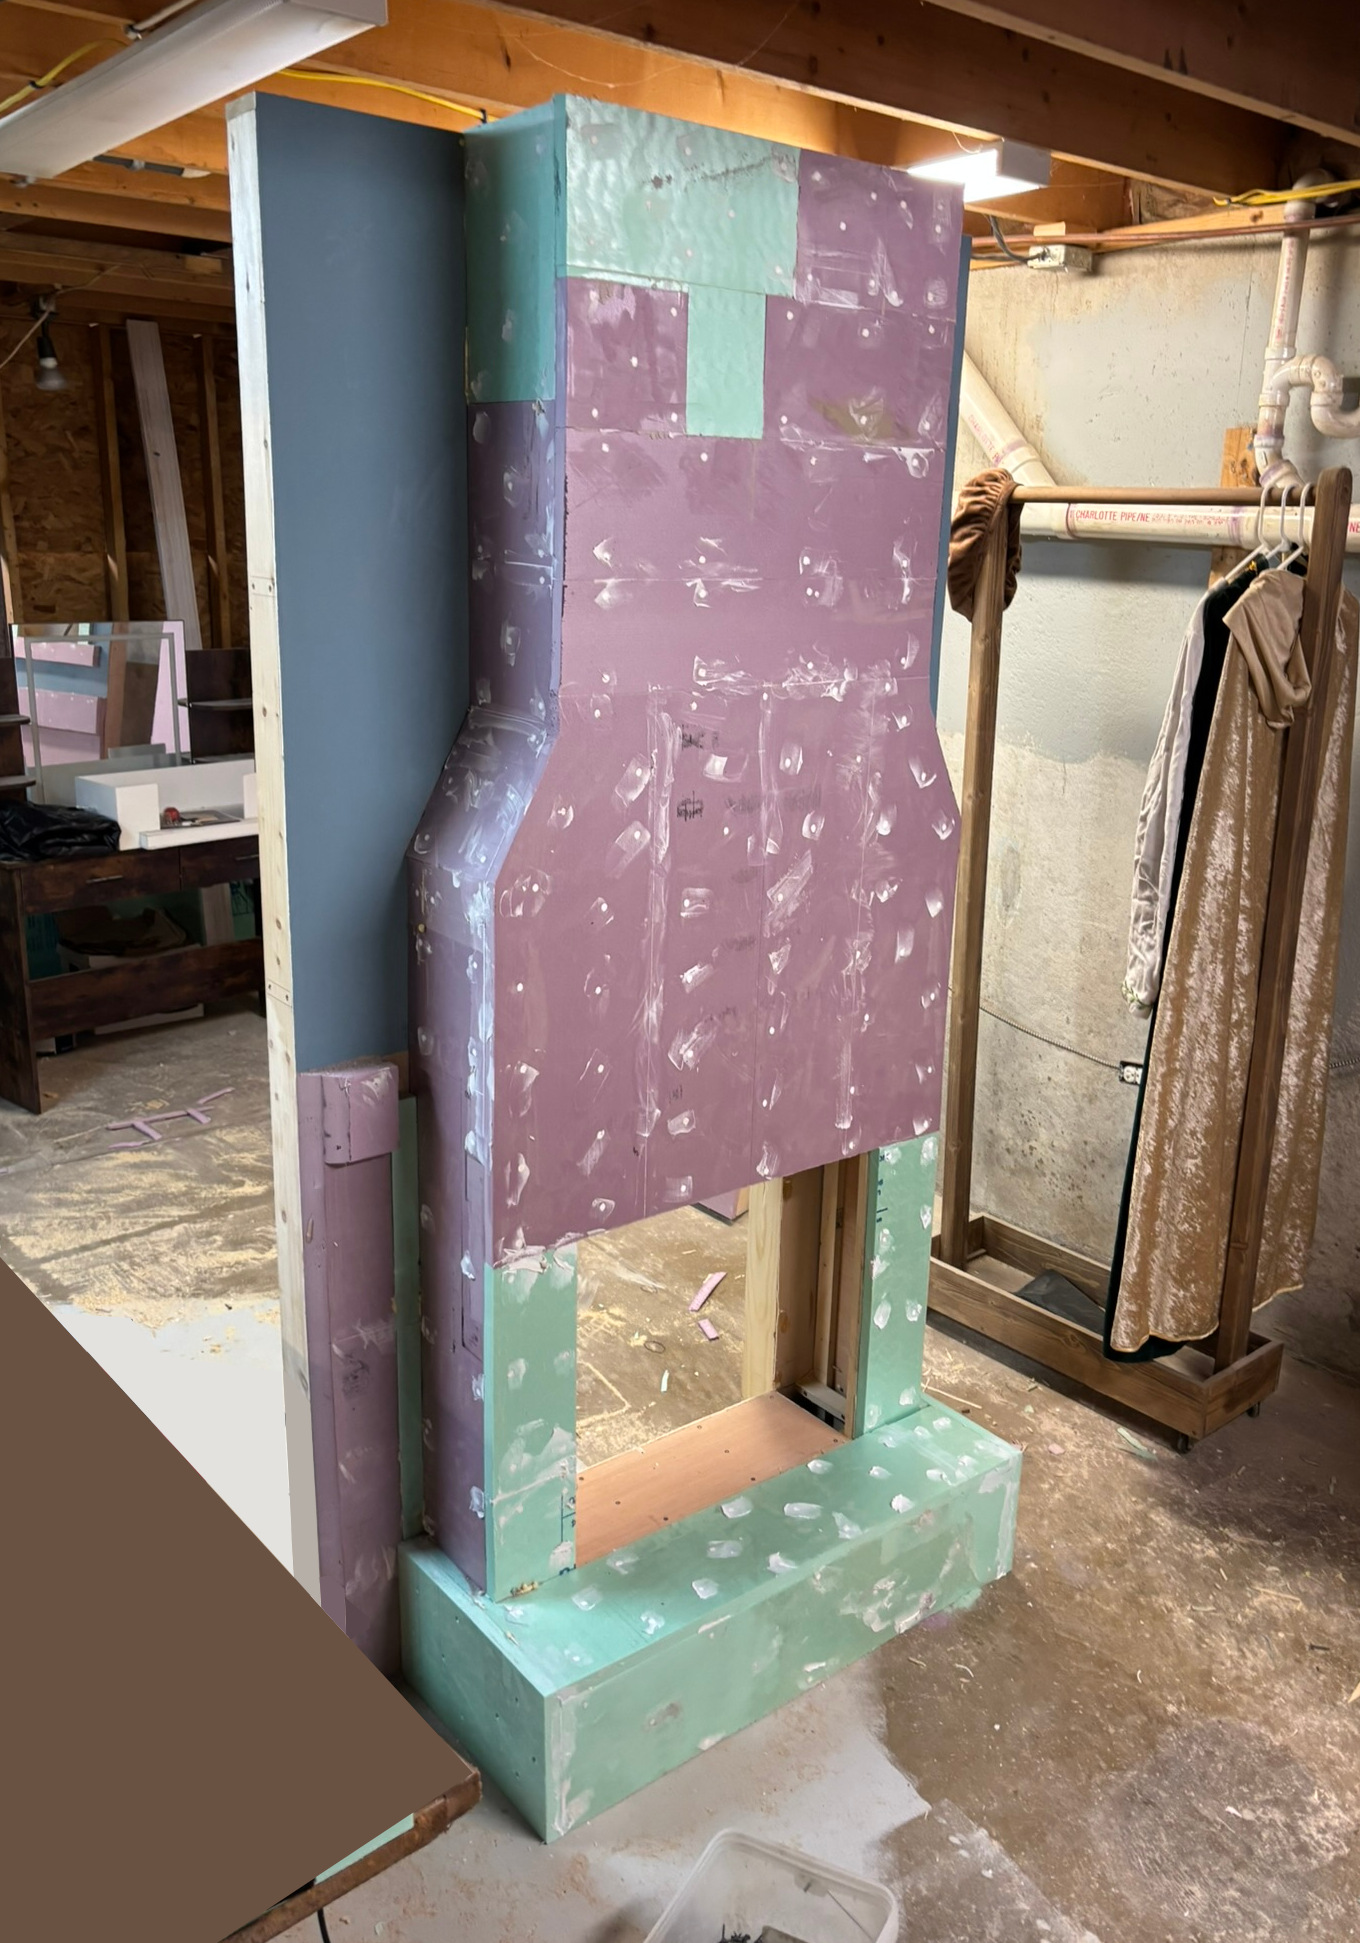
March 5, 2025
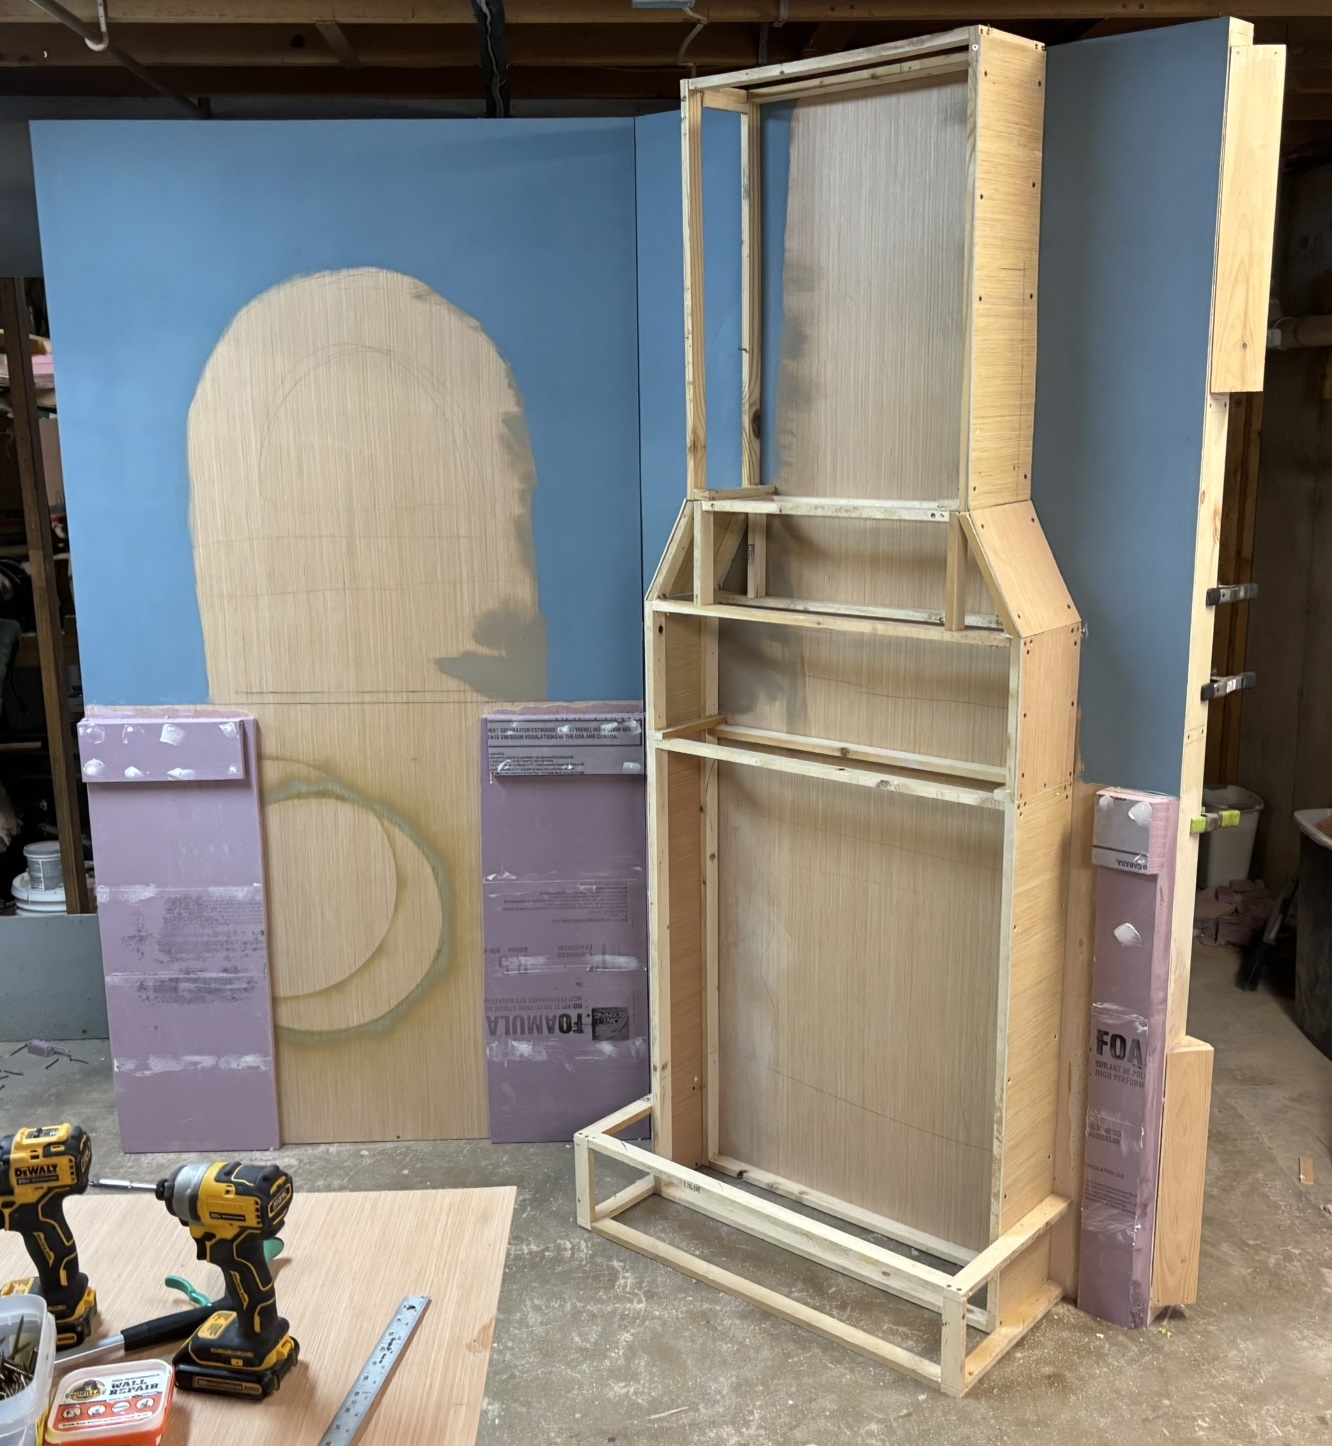
A few more bones are in place, and I’ve started adding a foam shell to the wood frame. This foam will be shaped into stones and textured for a realistic look. I've attached the foam using screws, and after removing them, I filled the holes with foam putty, which is sandable.
February 17, 2025
I'm absolutely thrilled about this fireplace! With this, Ambrosius can start hosting some magical cooking lessons as a defacto oven! Cookies, cakes... you name it. The possibilities are endless!
January 17, 2025
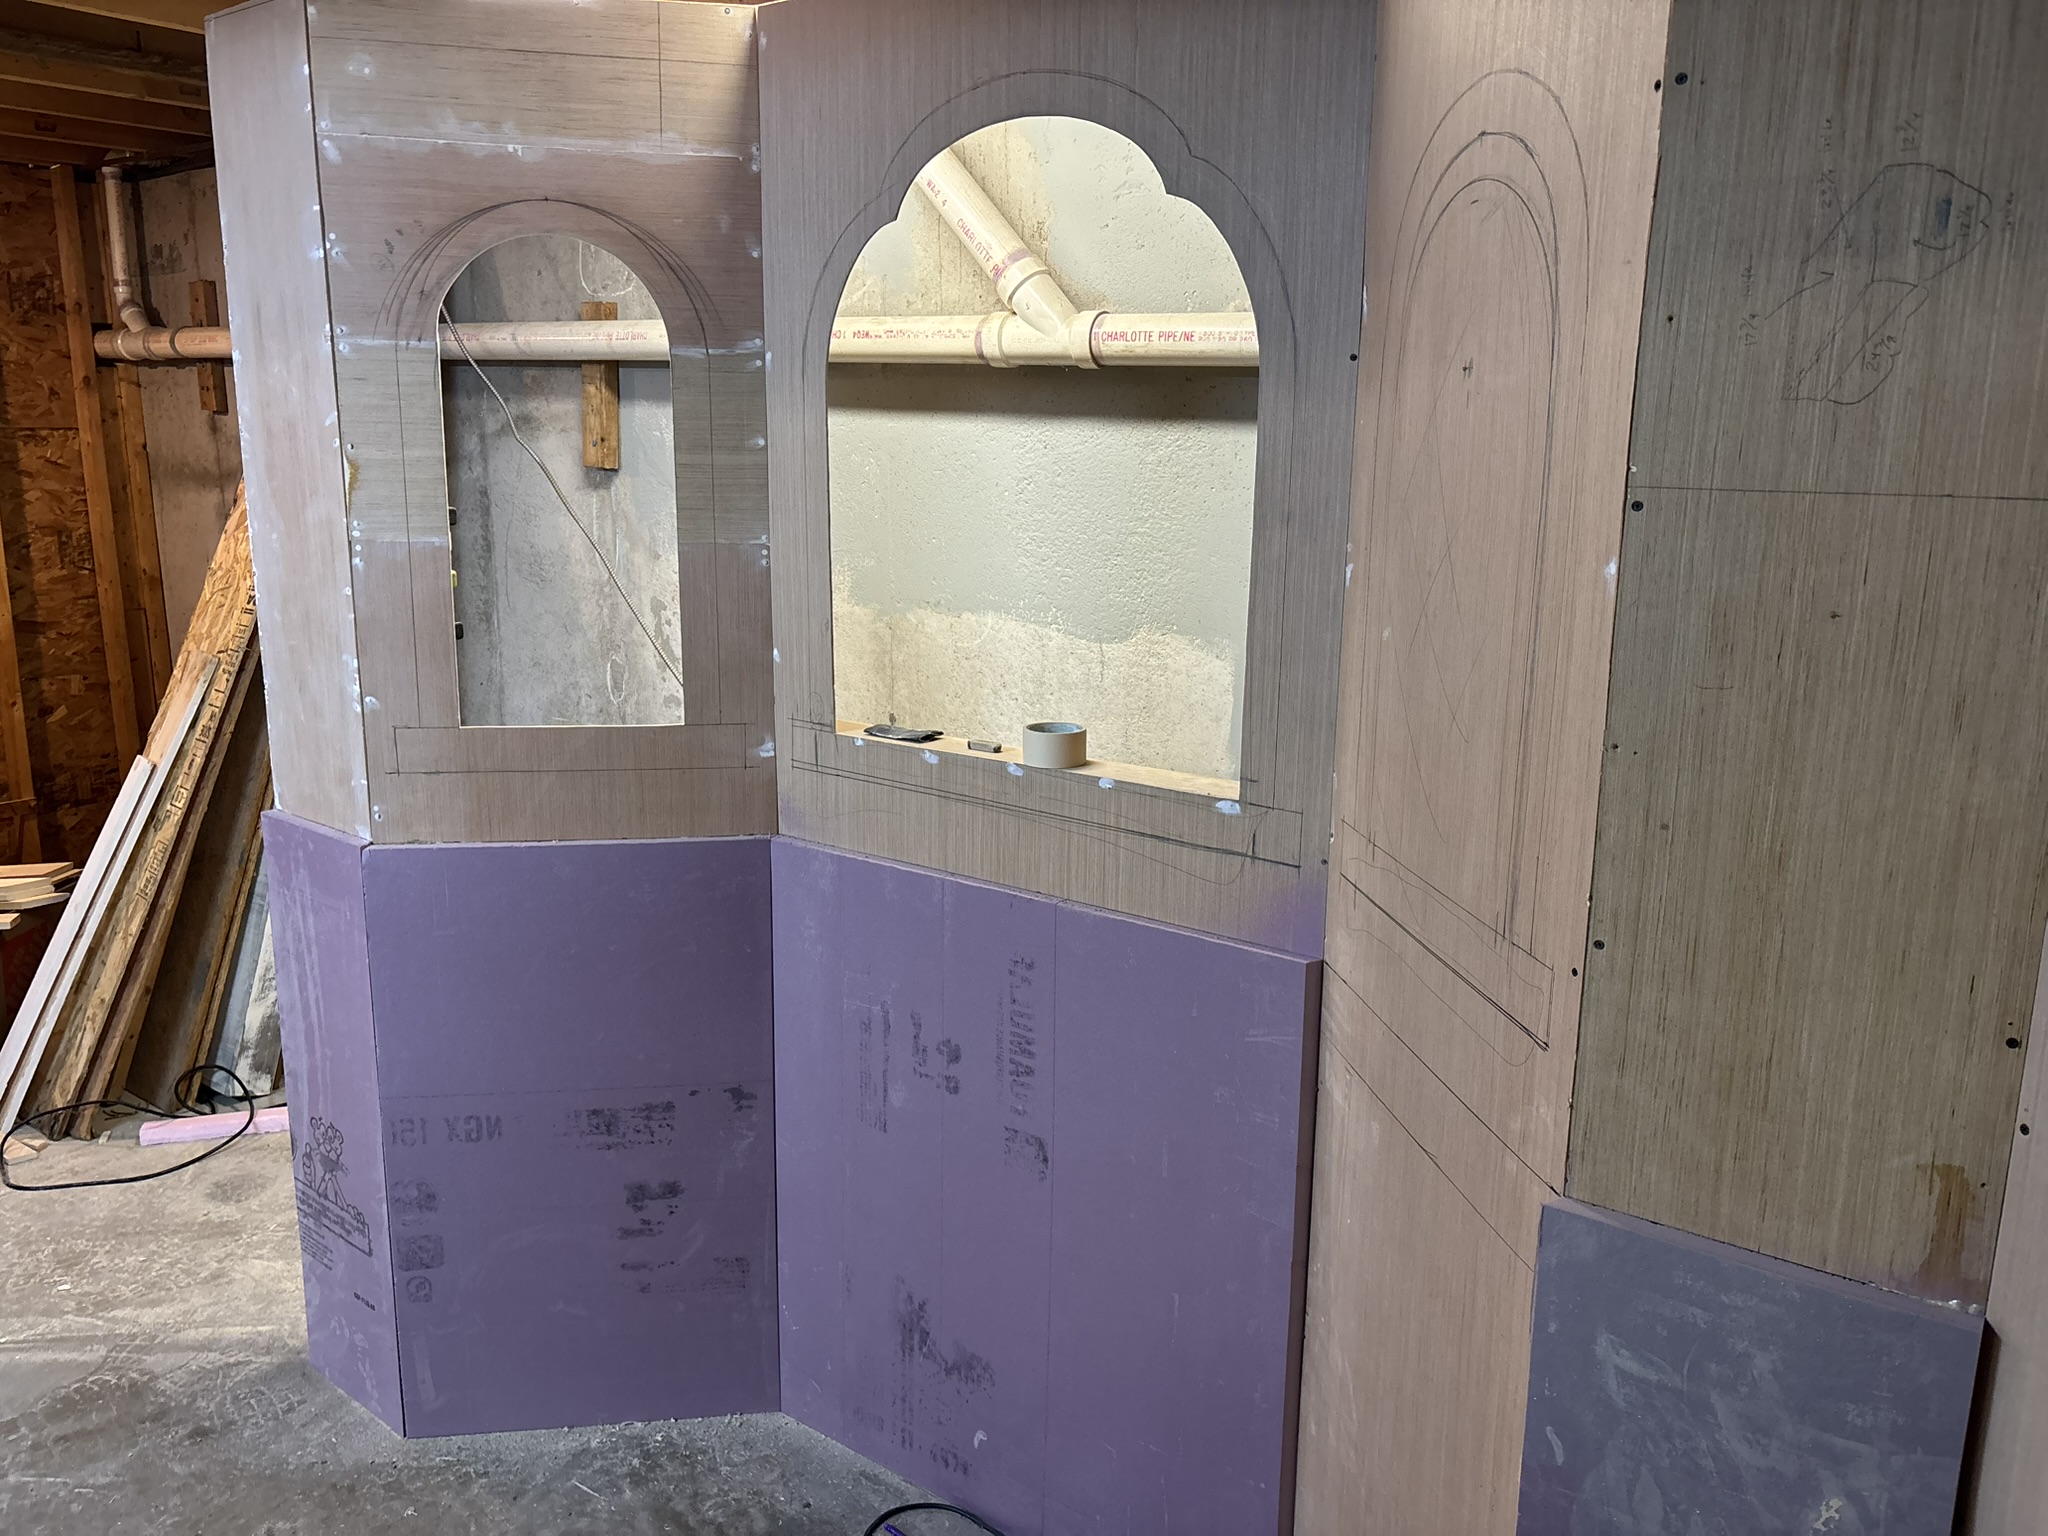
Things are really starting to take shape! I've got a few window cutouts done, some more insulation foam in place, and I'm super excited to start carving the stonework.
December 23, 2024
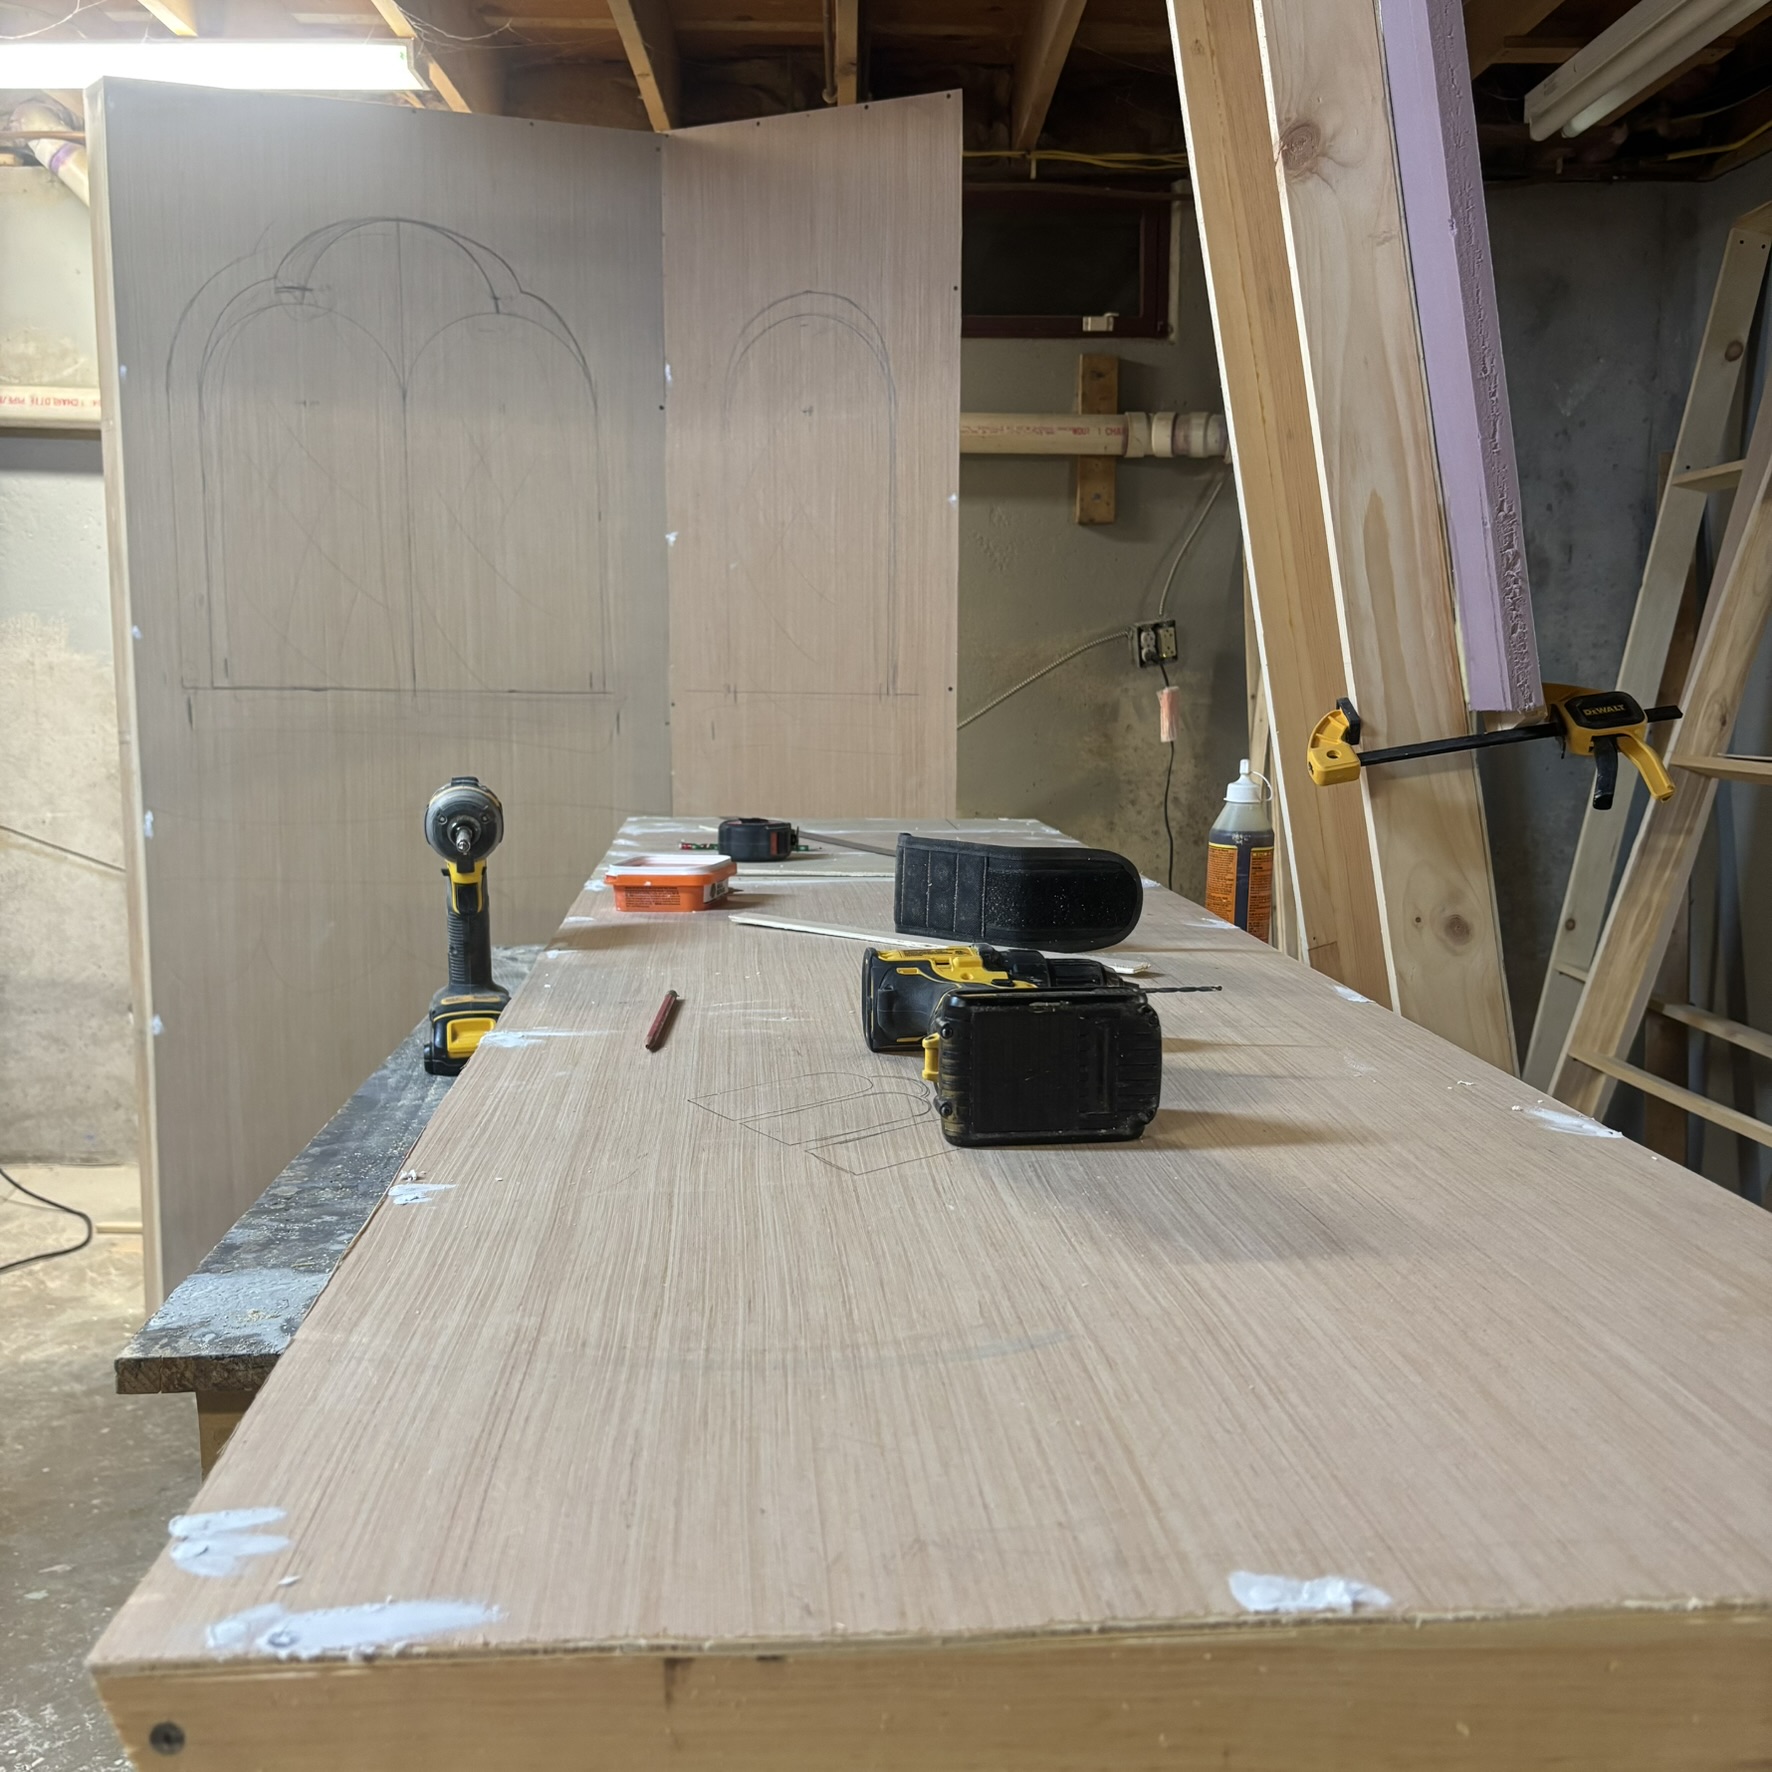
Toiling away with some jolly Christmas tunes! 🎄
March 14, 2022
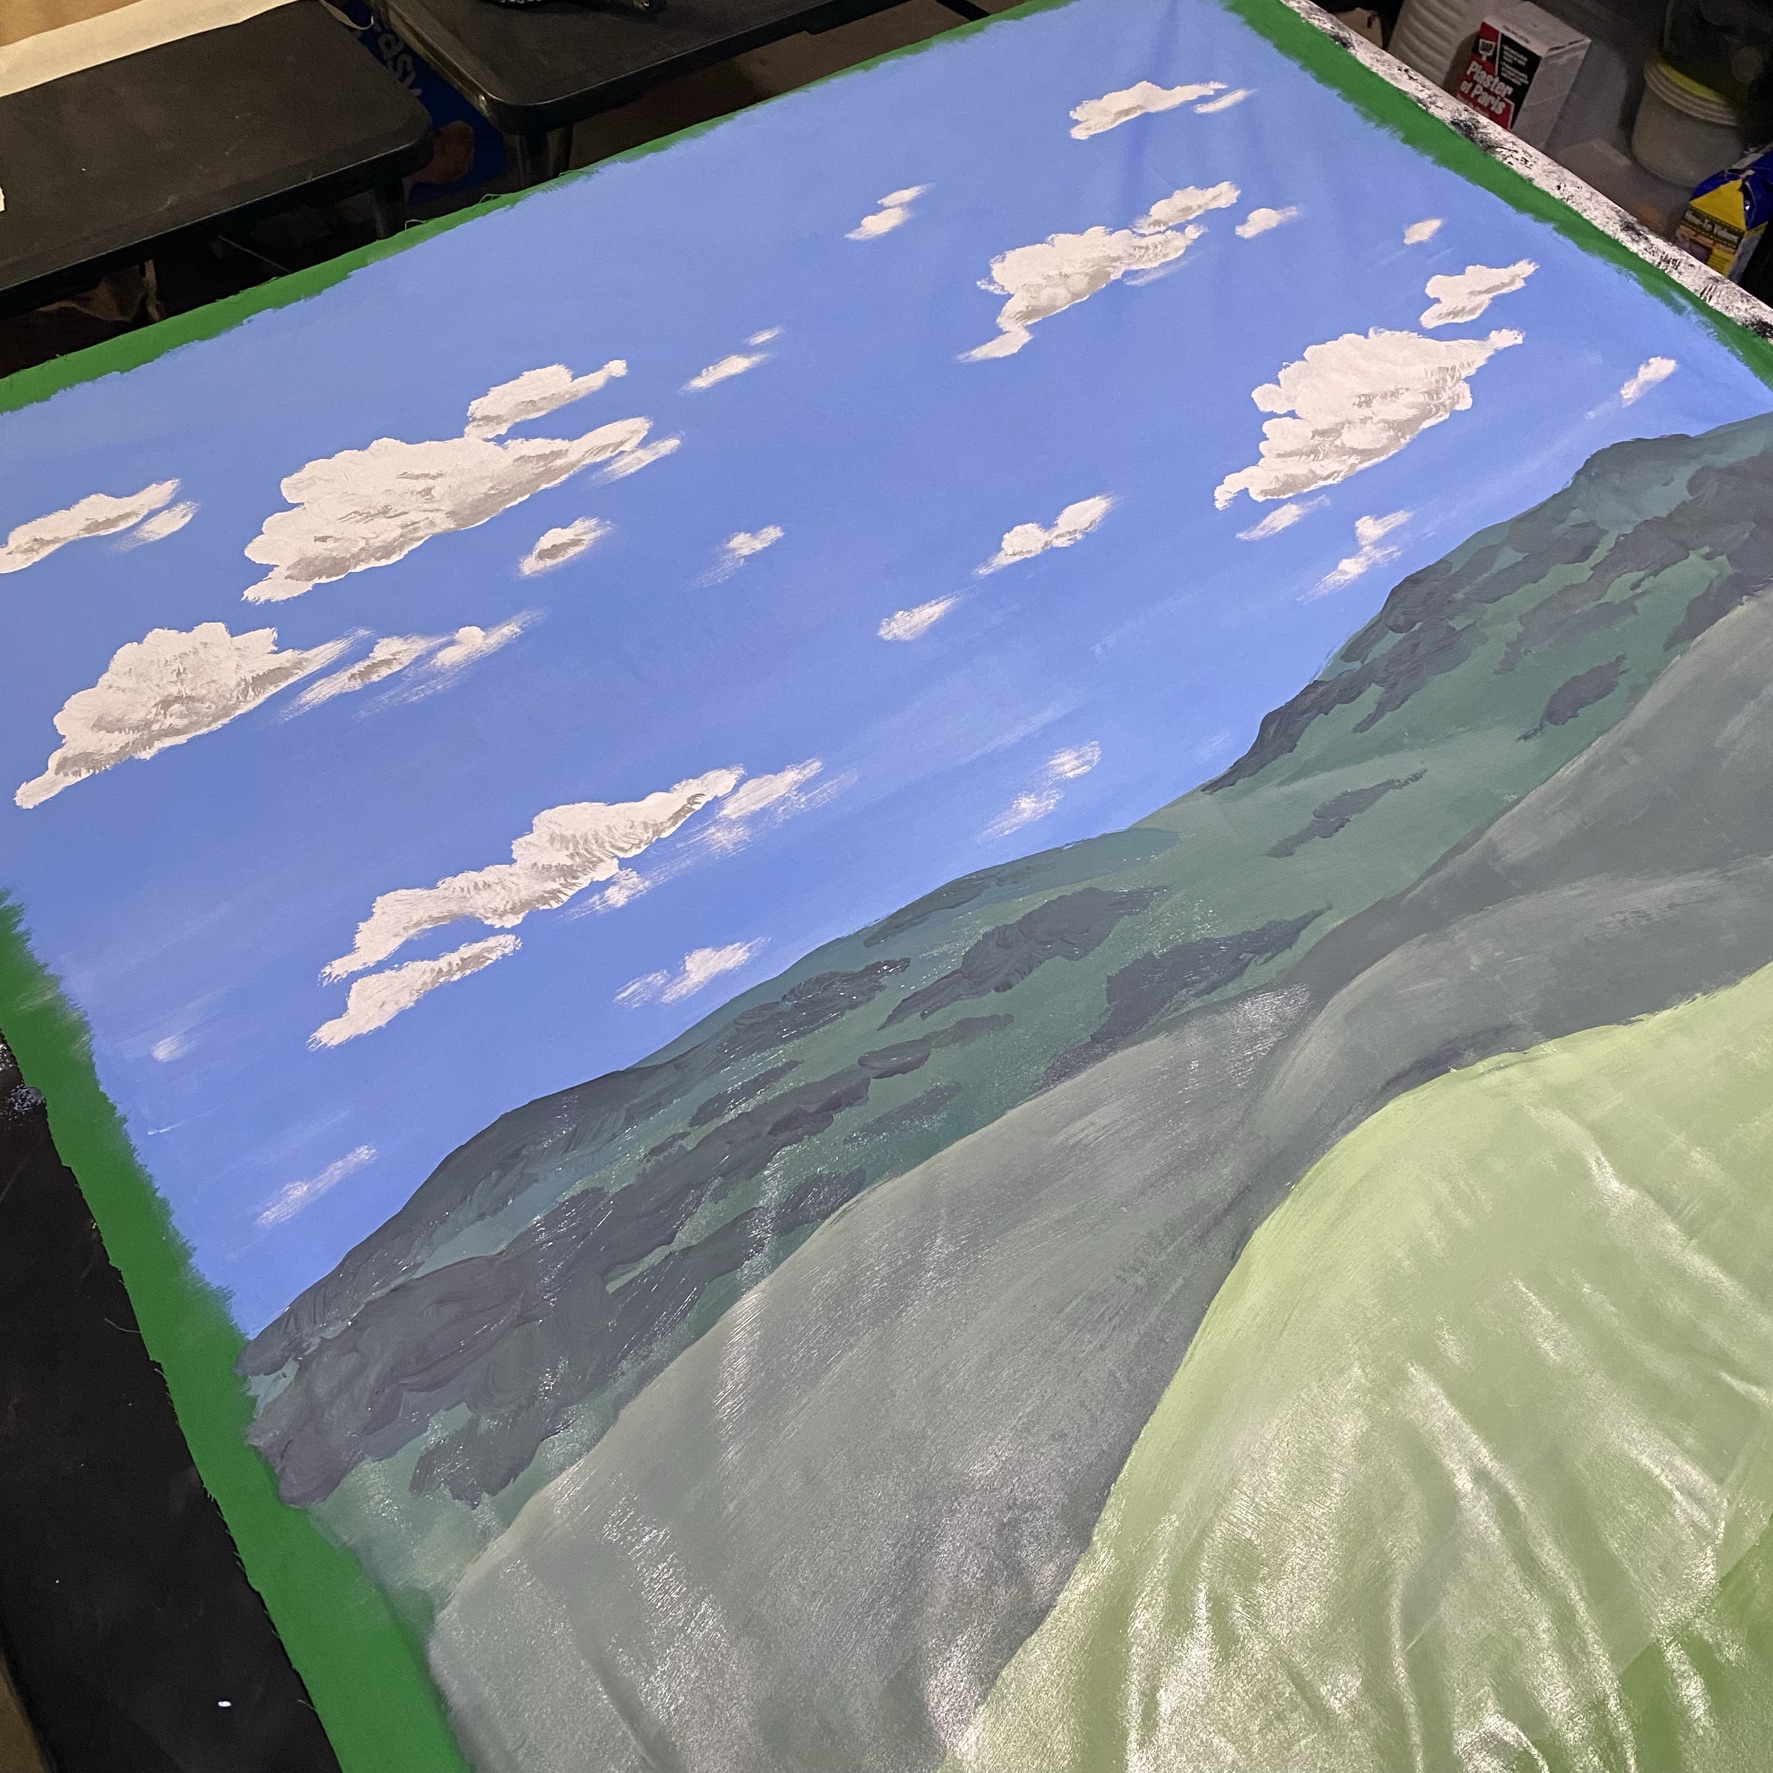
A backdrop for just outside the front door, there are times when Ambrosius enters or leaves and I want to make sure there is nice view instead of some basement wall! 😆

February 28, 2020
First time trying to make something like this, a foam puppet for Luminous Lessons. Once I nail down all the shapes I’m going to apply a few coats of silicone, add hair and give him some color.
November 13, 2019
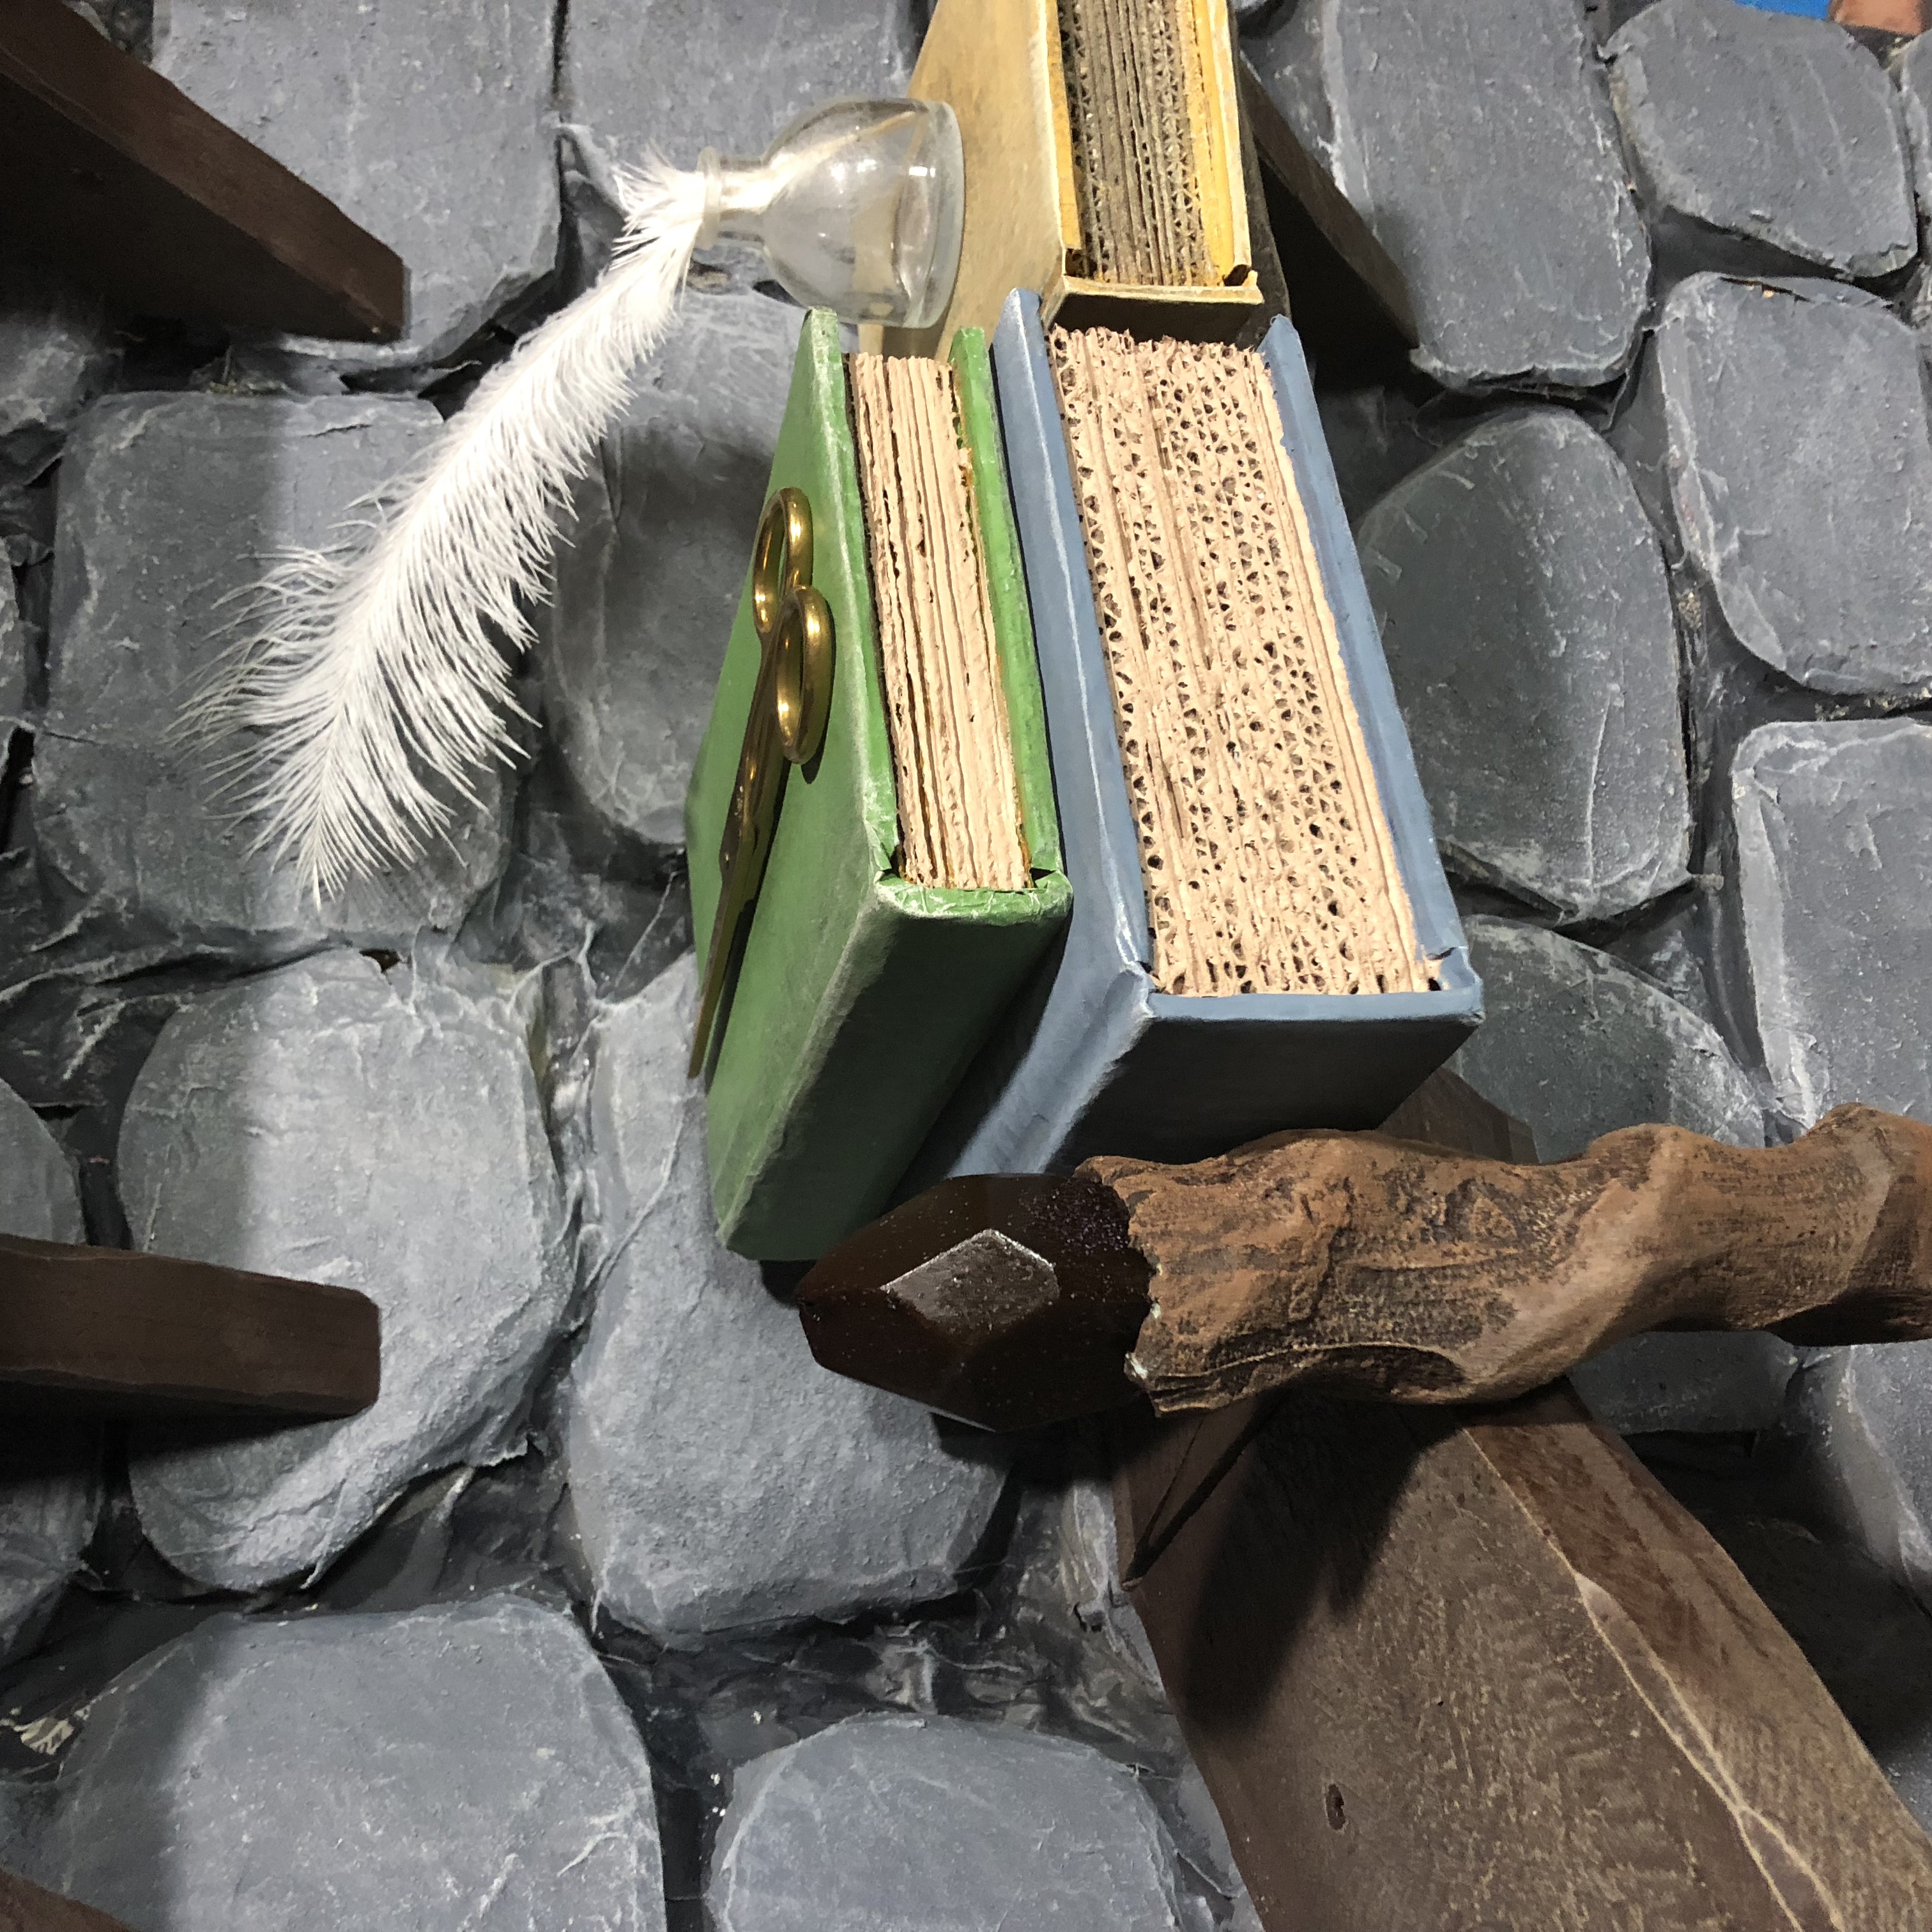
Text
October 5, 2019
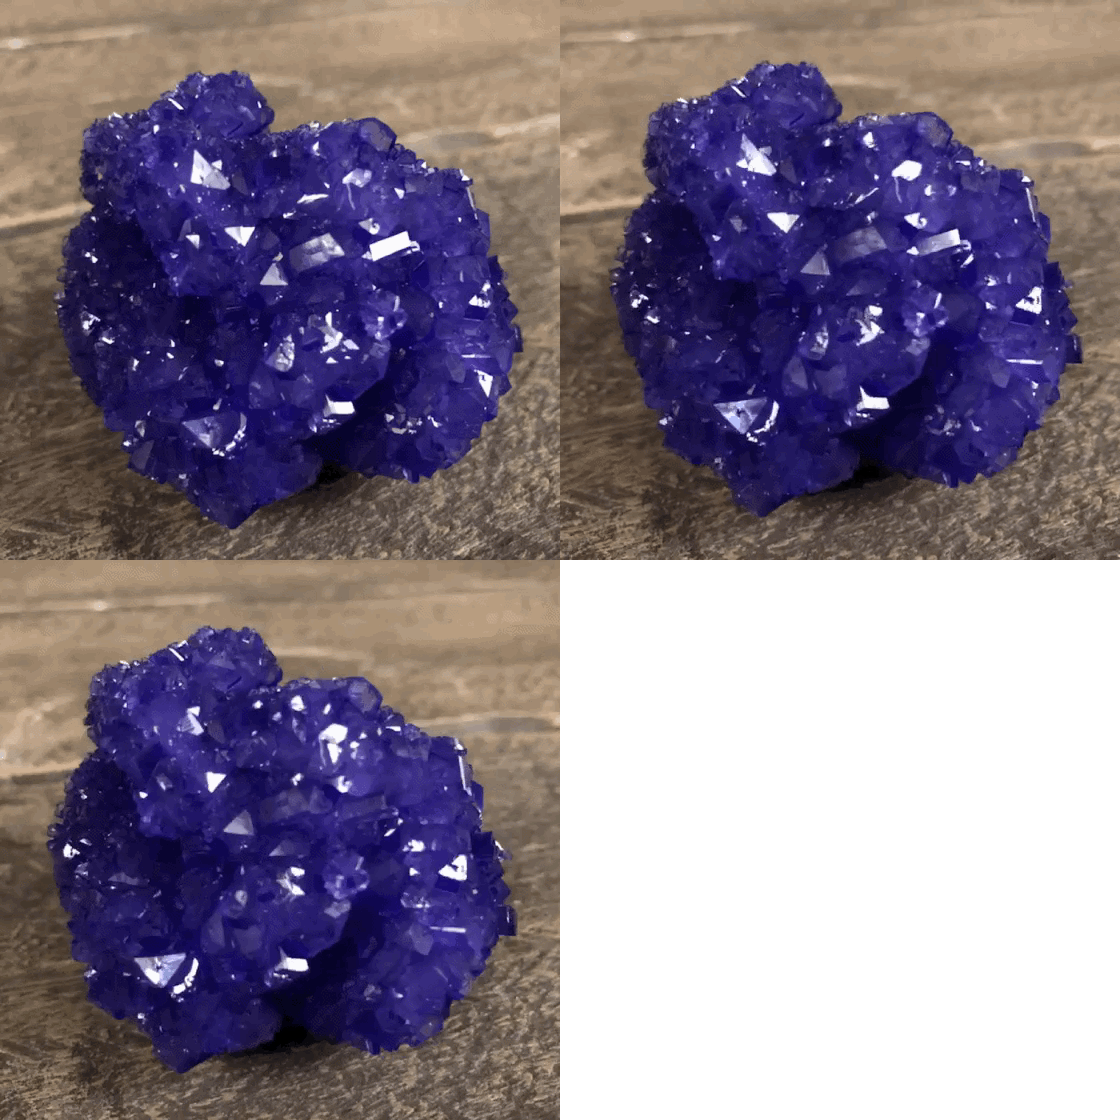
New Luminous Lessons upload coming soon, Learn how to make borax crystals with old Ambrosius!

September 5, 2019
Look at all that bunsen burner action.. that’s nice. 🔥

September 2, 2019
Second spell page finished! Ignore the text it’s almost gibberish, but it won’t be legible on video anyway

September 1, 2019
Mandrake spell page before I take the eraser to it, and give it the good old coffee wash, just hope the ink or paint doesn’t bleed on me, we’ll see

September 1, 2019
Doing calligraphy for the first time on some spell book pages, I was originally searching for a brown pen ink and only found gold, but I’m so happy with how it’s turning out!

August 22, 2019
A glimpse at Ambrosius’ spell book, this thing is huge!

August 22, 2019
Painting these bolt heads (model magic) for use on the set castle door, making it look all medieval-like.
August 21, 2019
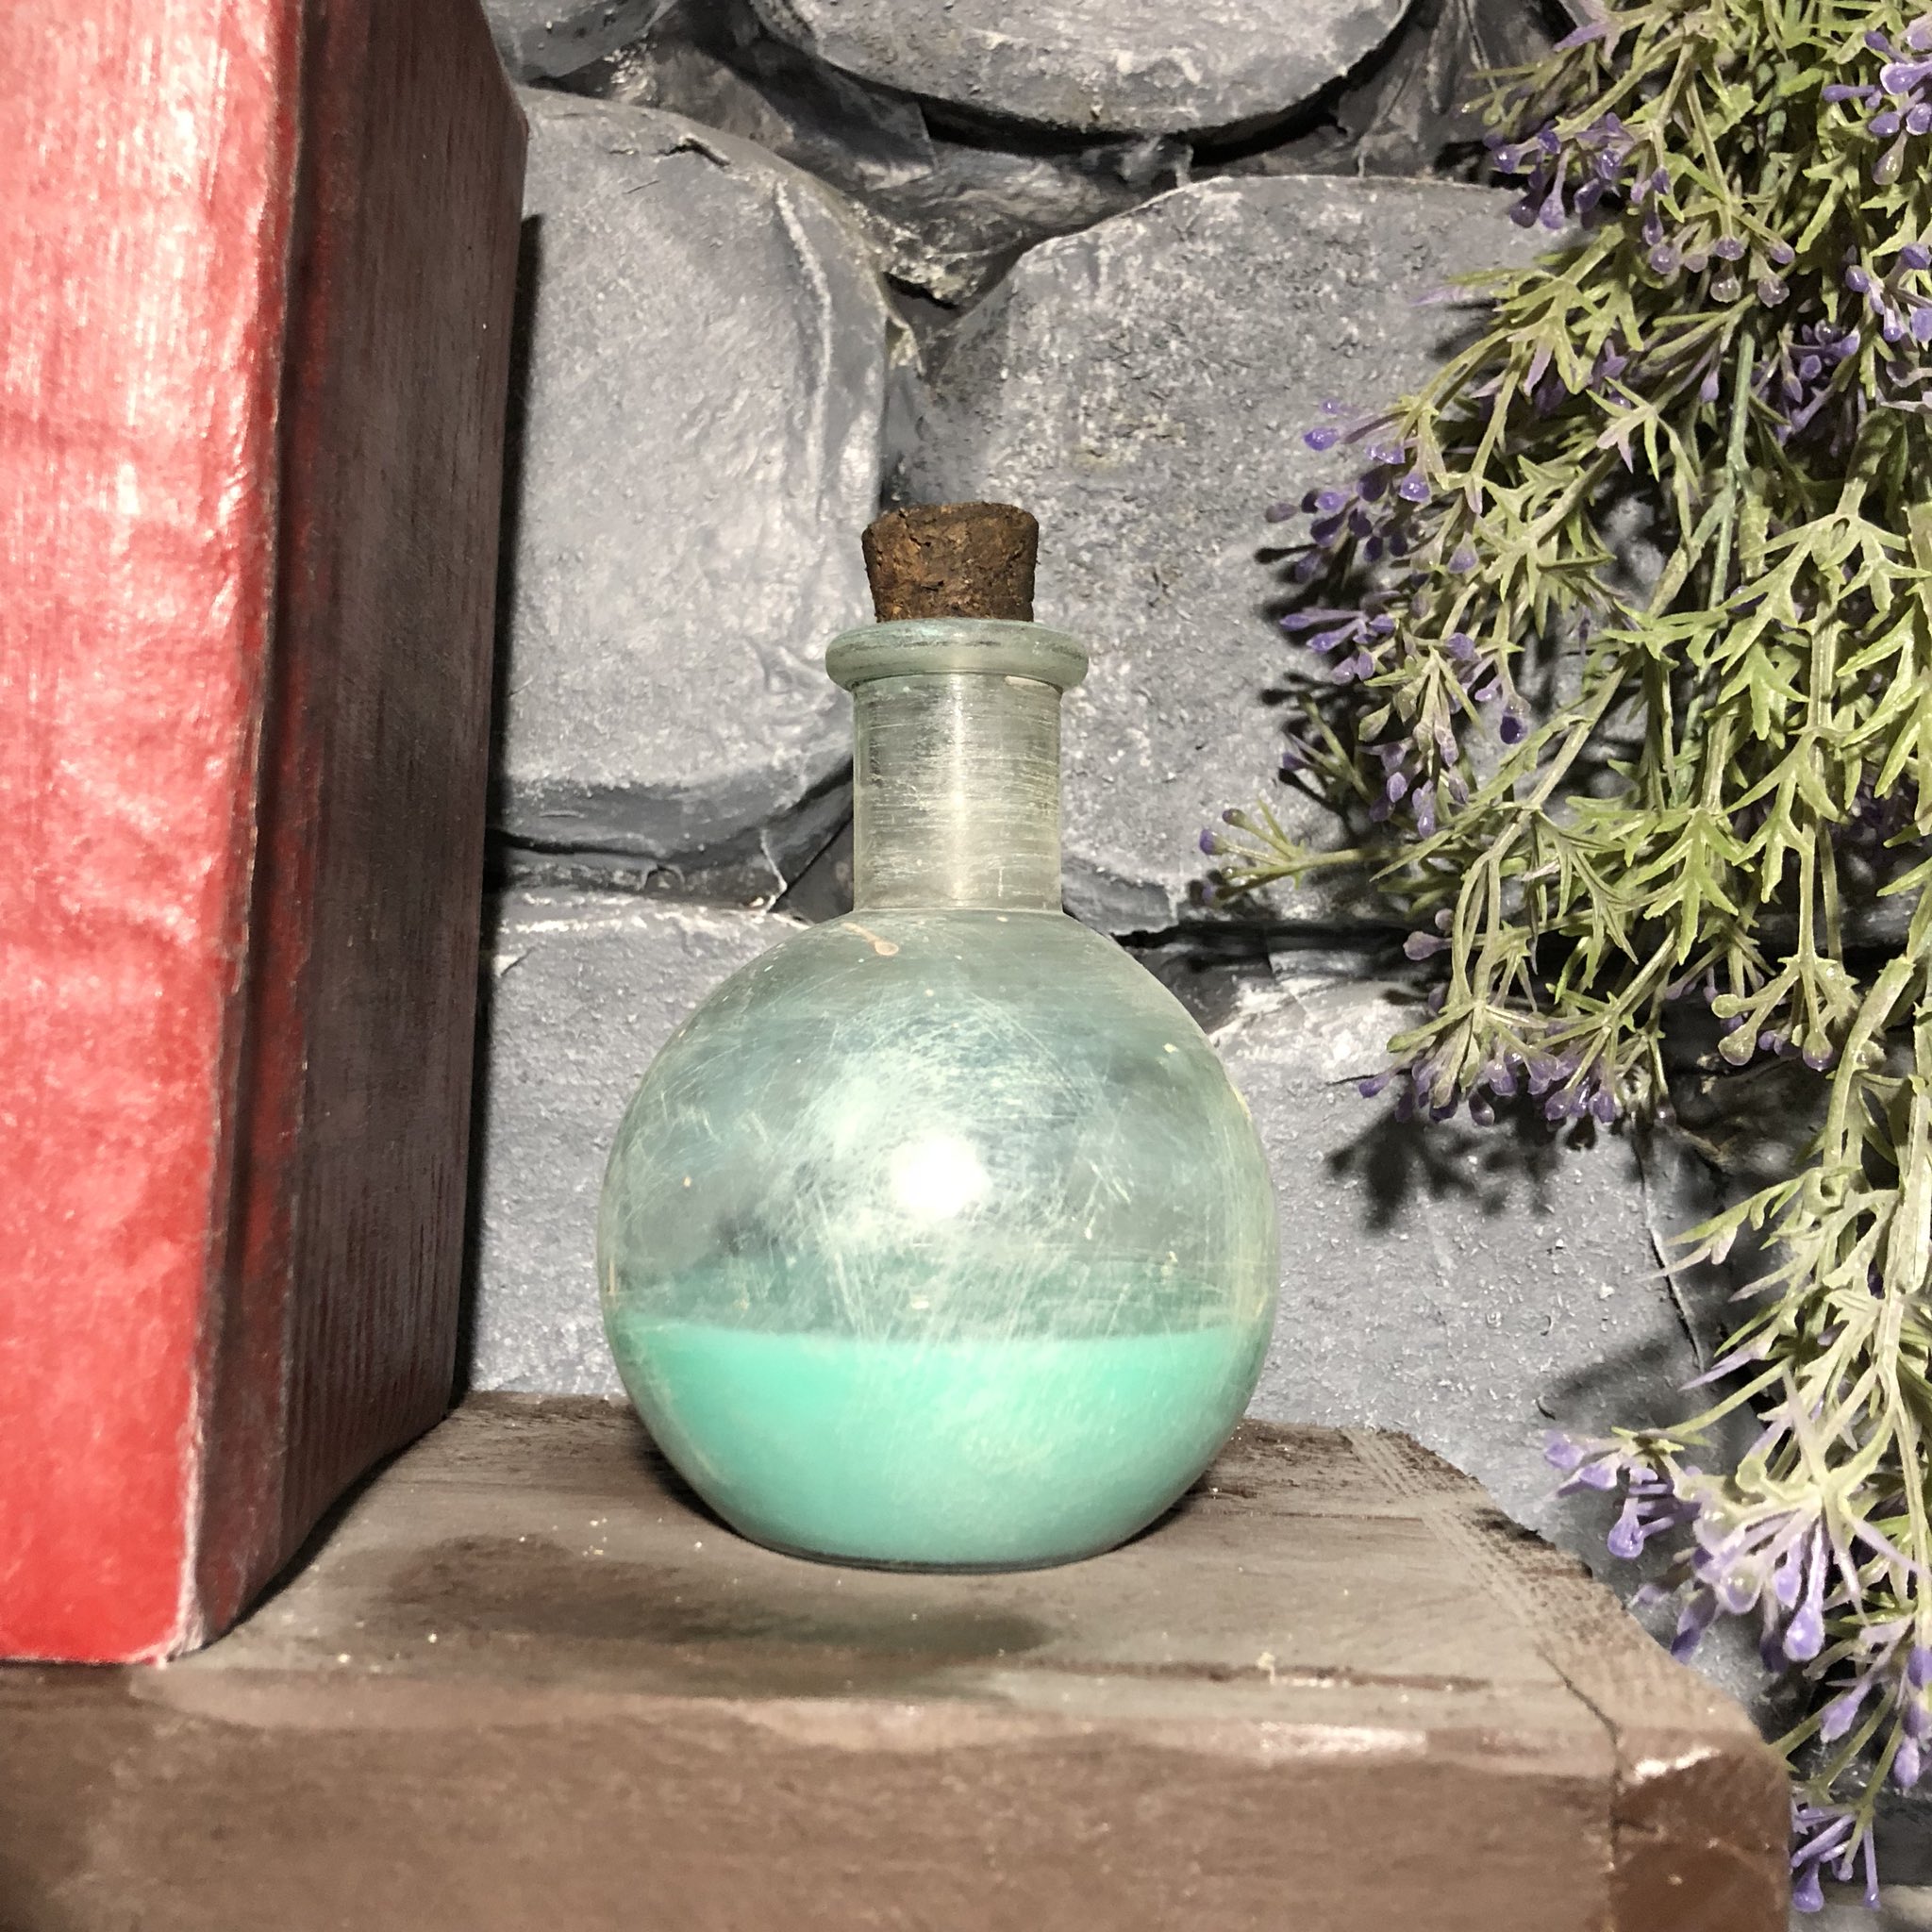
Finished a second bottle, this one is some kind of liquid potion. What does it do? I’m not quite sure, why don’t you try some.
August 21, 2019
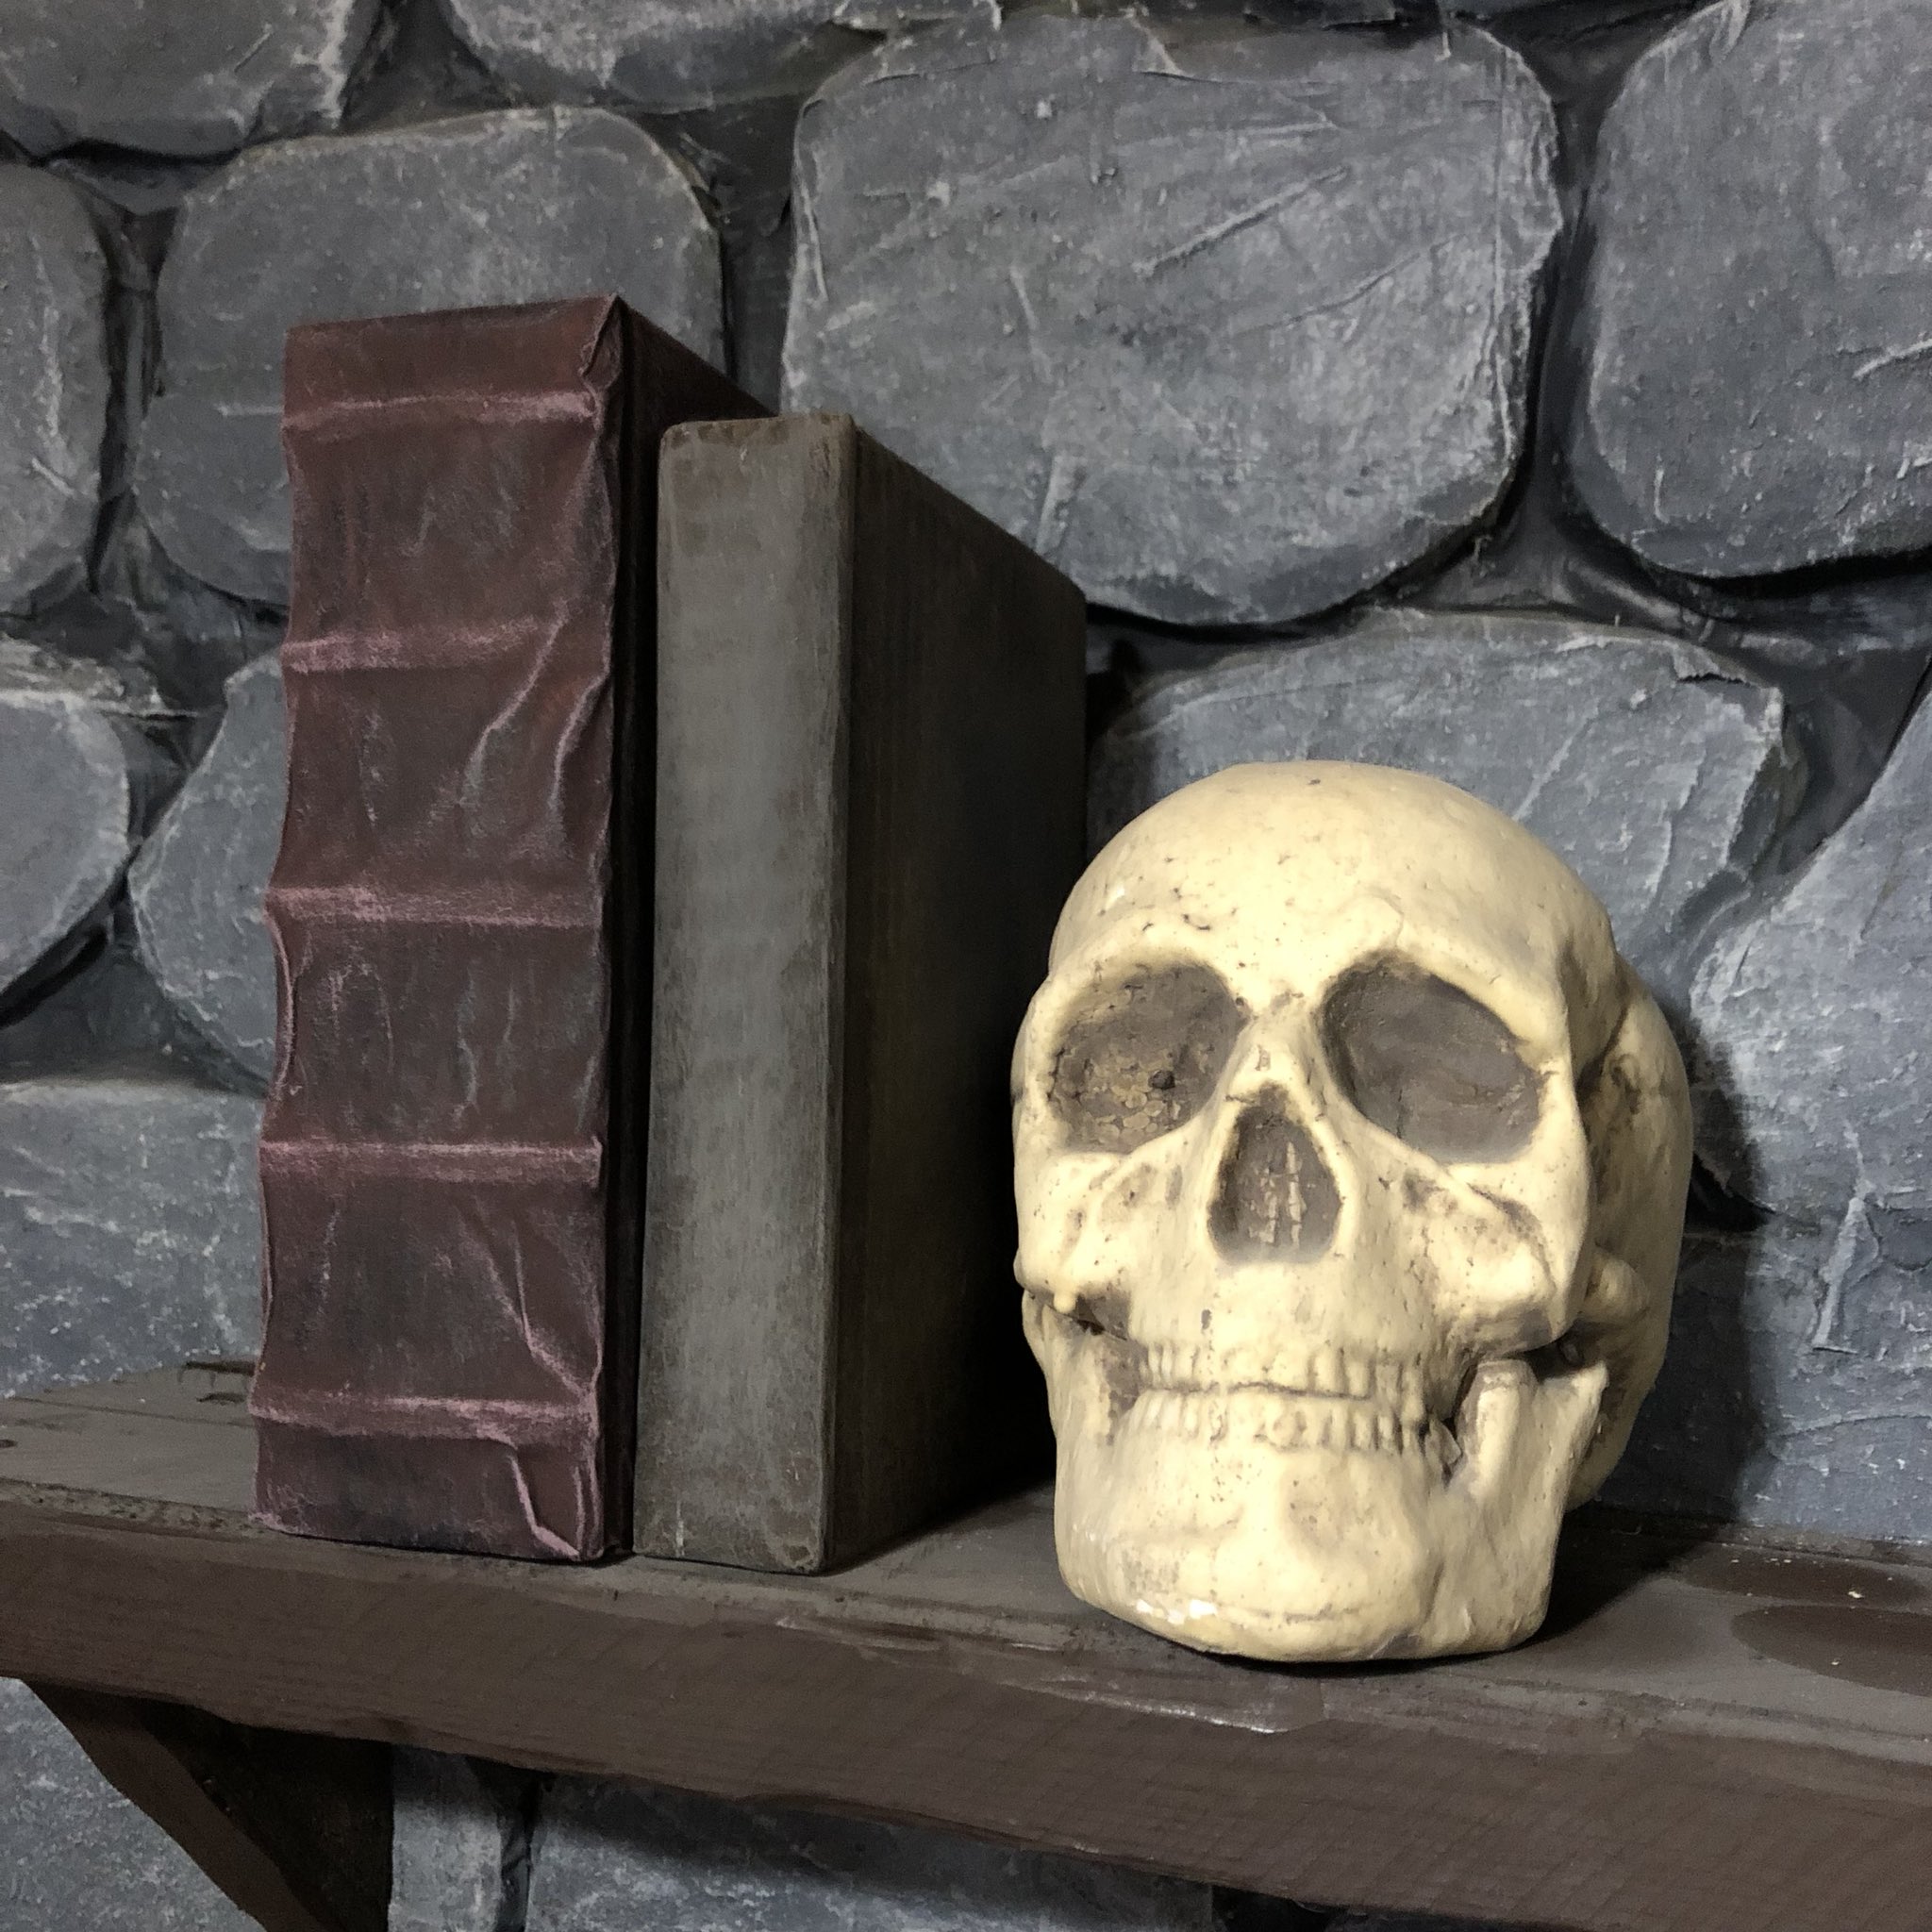
I have found that using watercolors instead of acrylics is way smoother, less clumpy and even dries faster when painting my props, then again I use cheap arylics 🤷🏼, here are a few fake book props I make with cardboard (skull isn’t made by me)
August 21, 2019
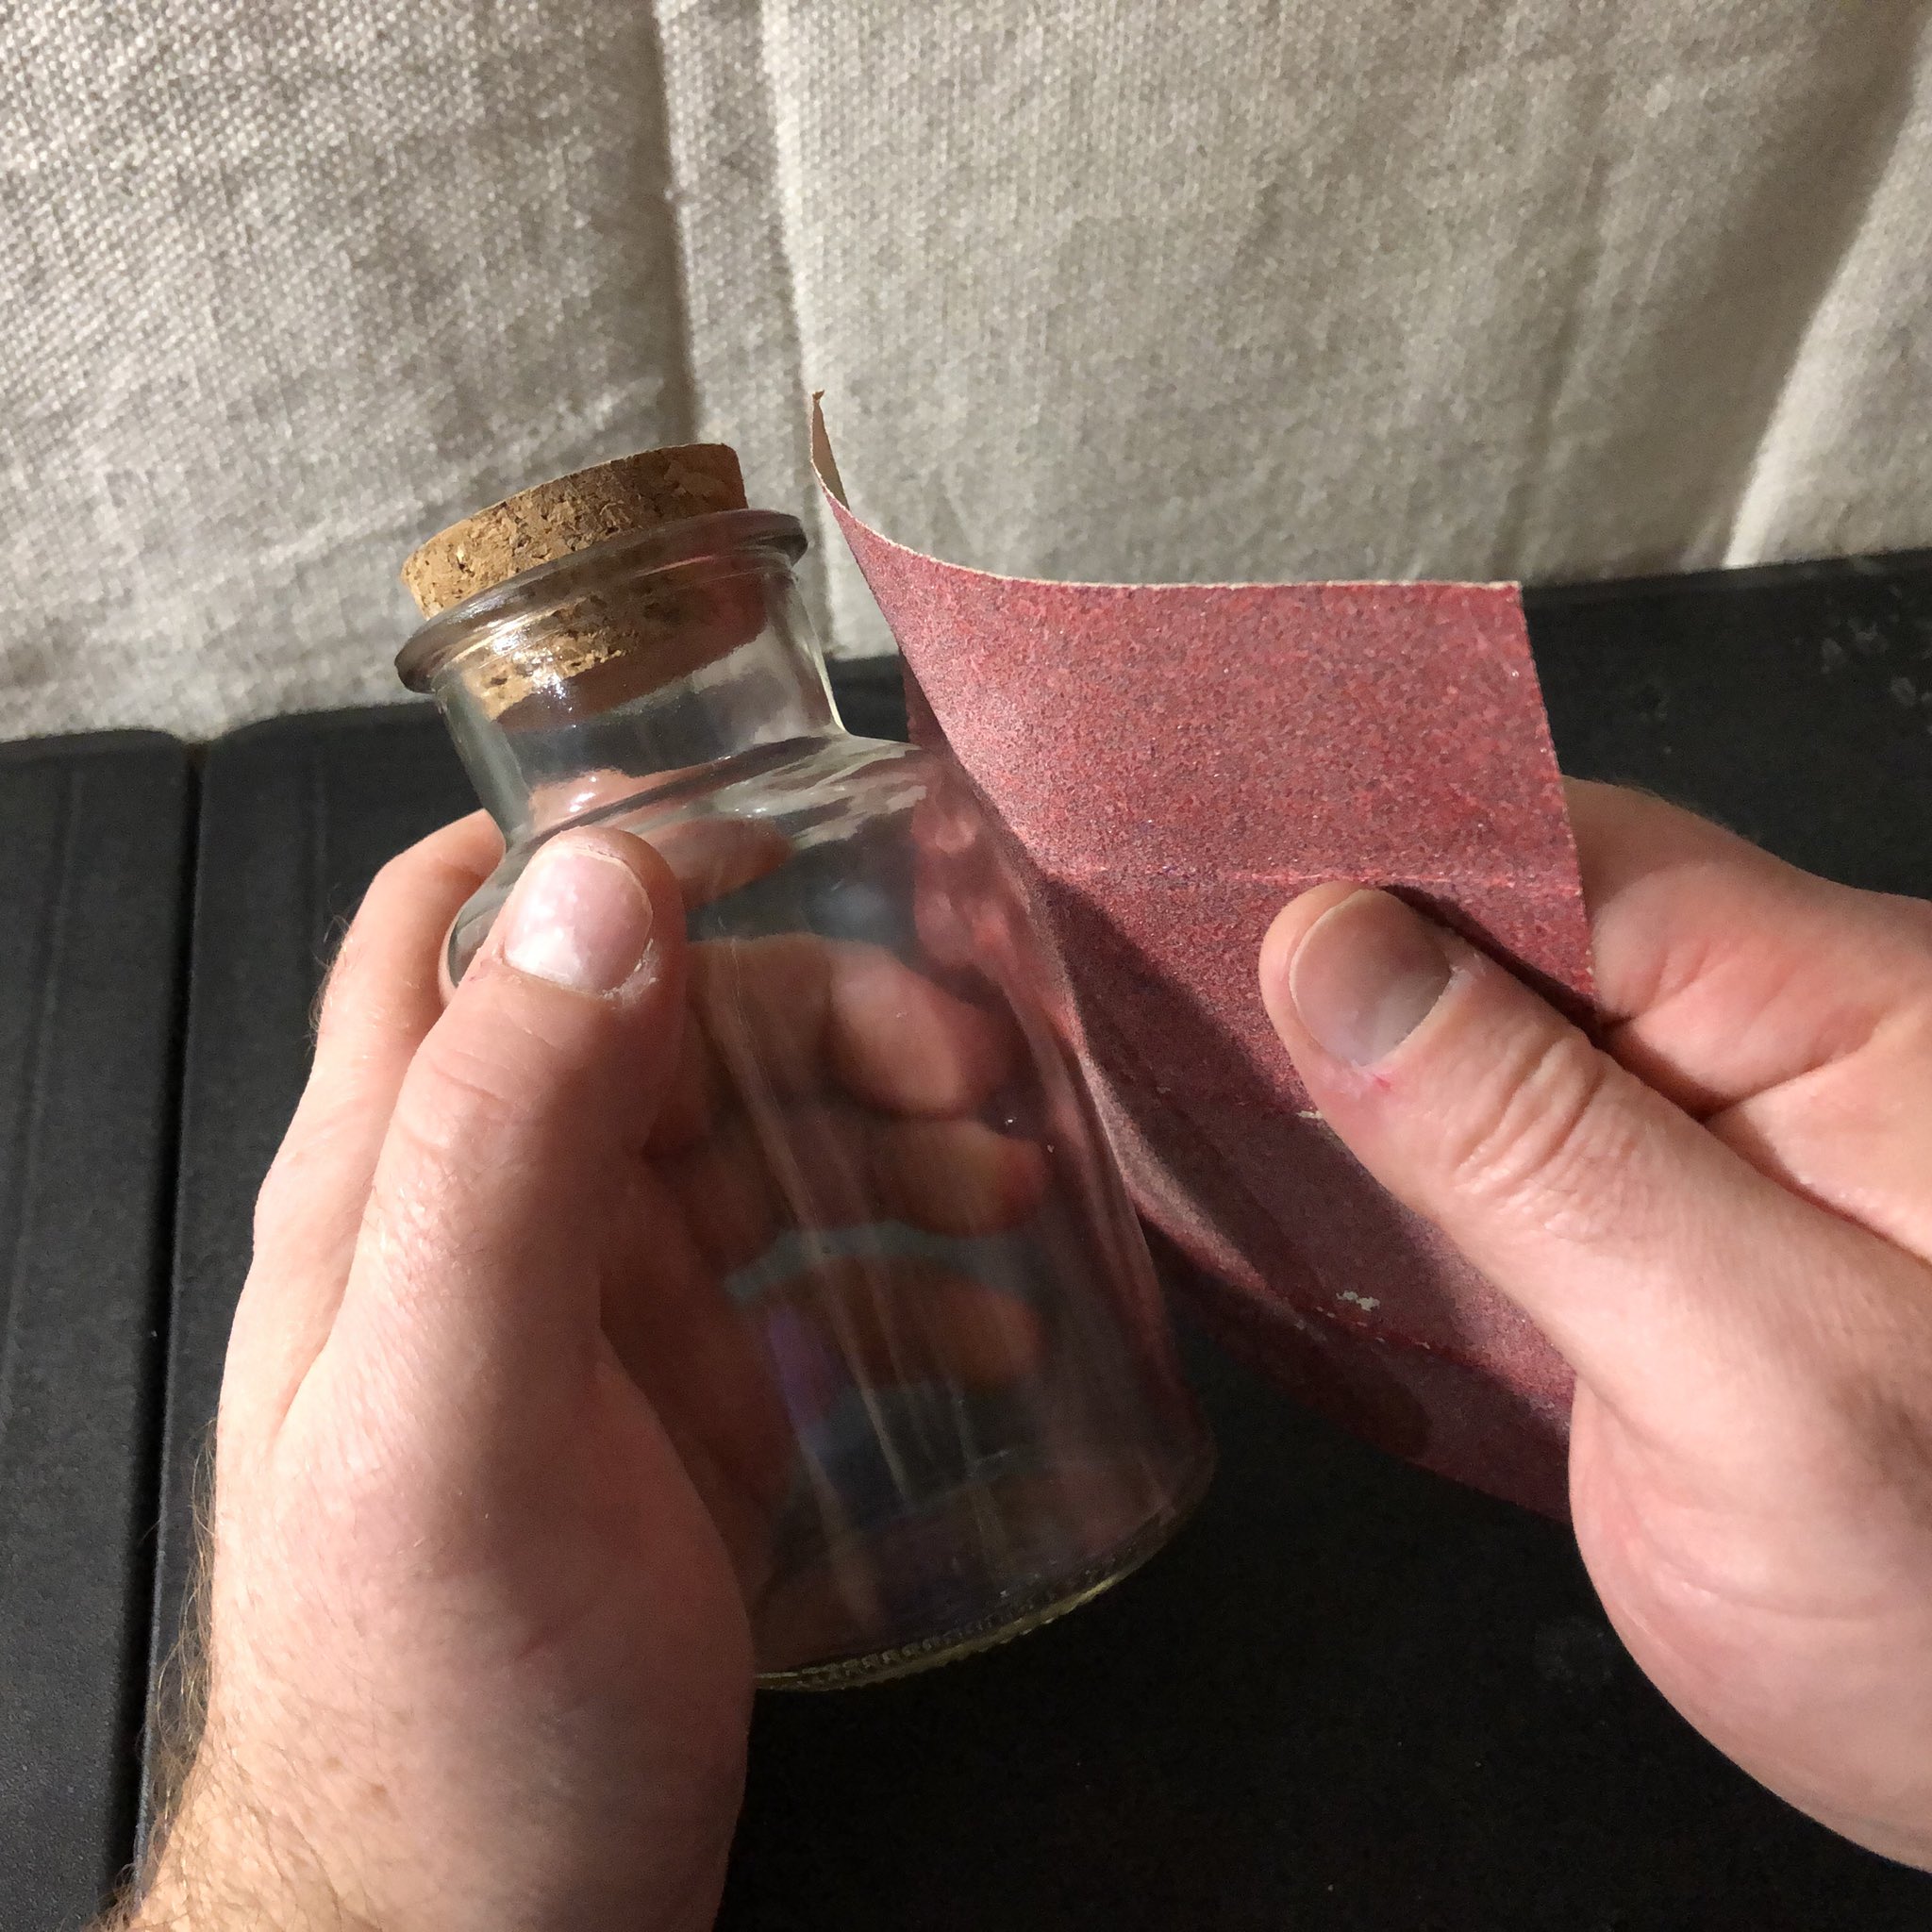
Making some glassware look really old, a prop for a YouTube project of mine... (so mysterious, even I’m not sure what this is all about). I’ve been doing a lot of work on this set over the past year, so I will have to make an effort to share more of it!
May 2, 2019
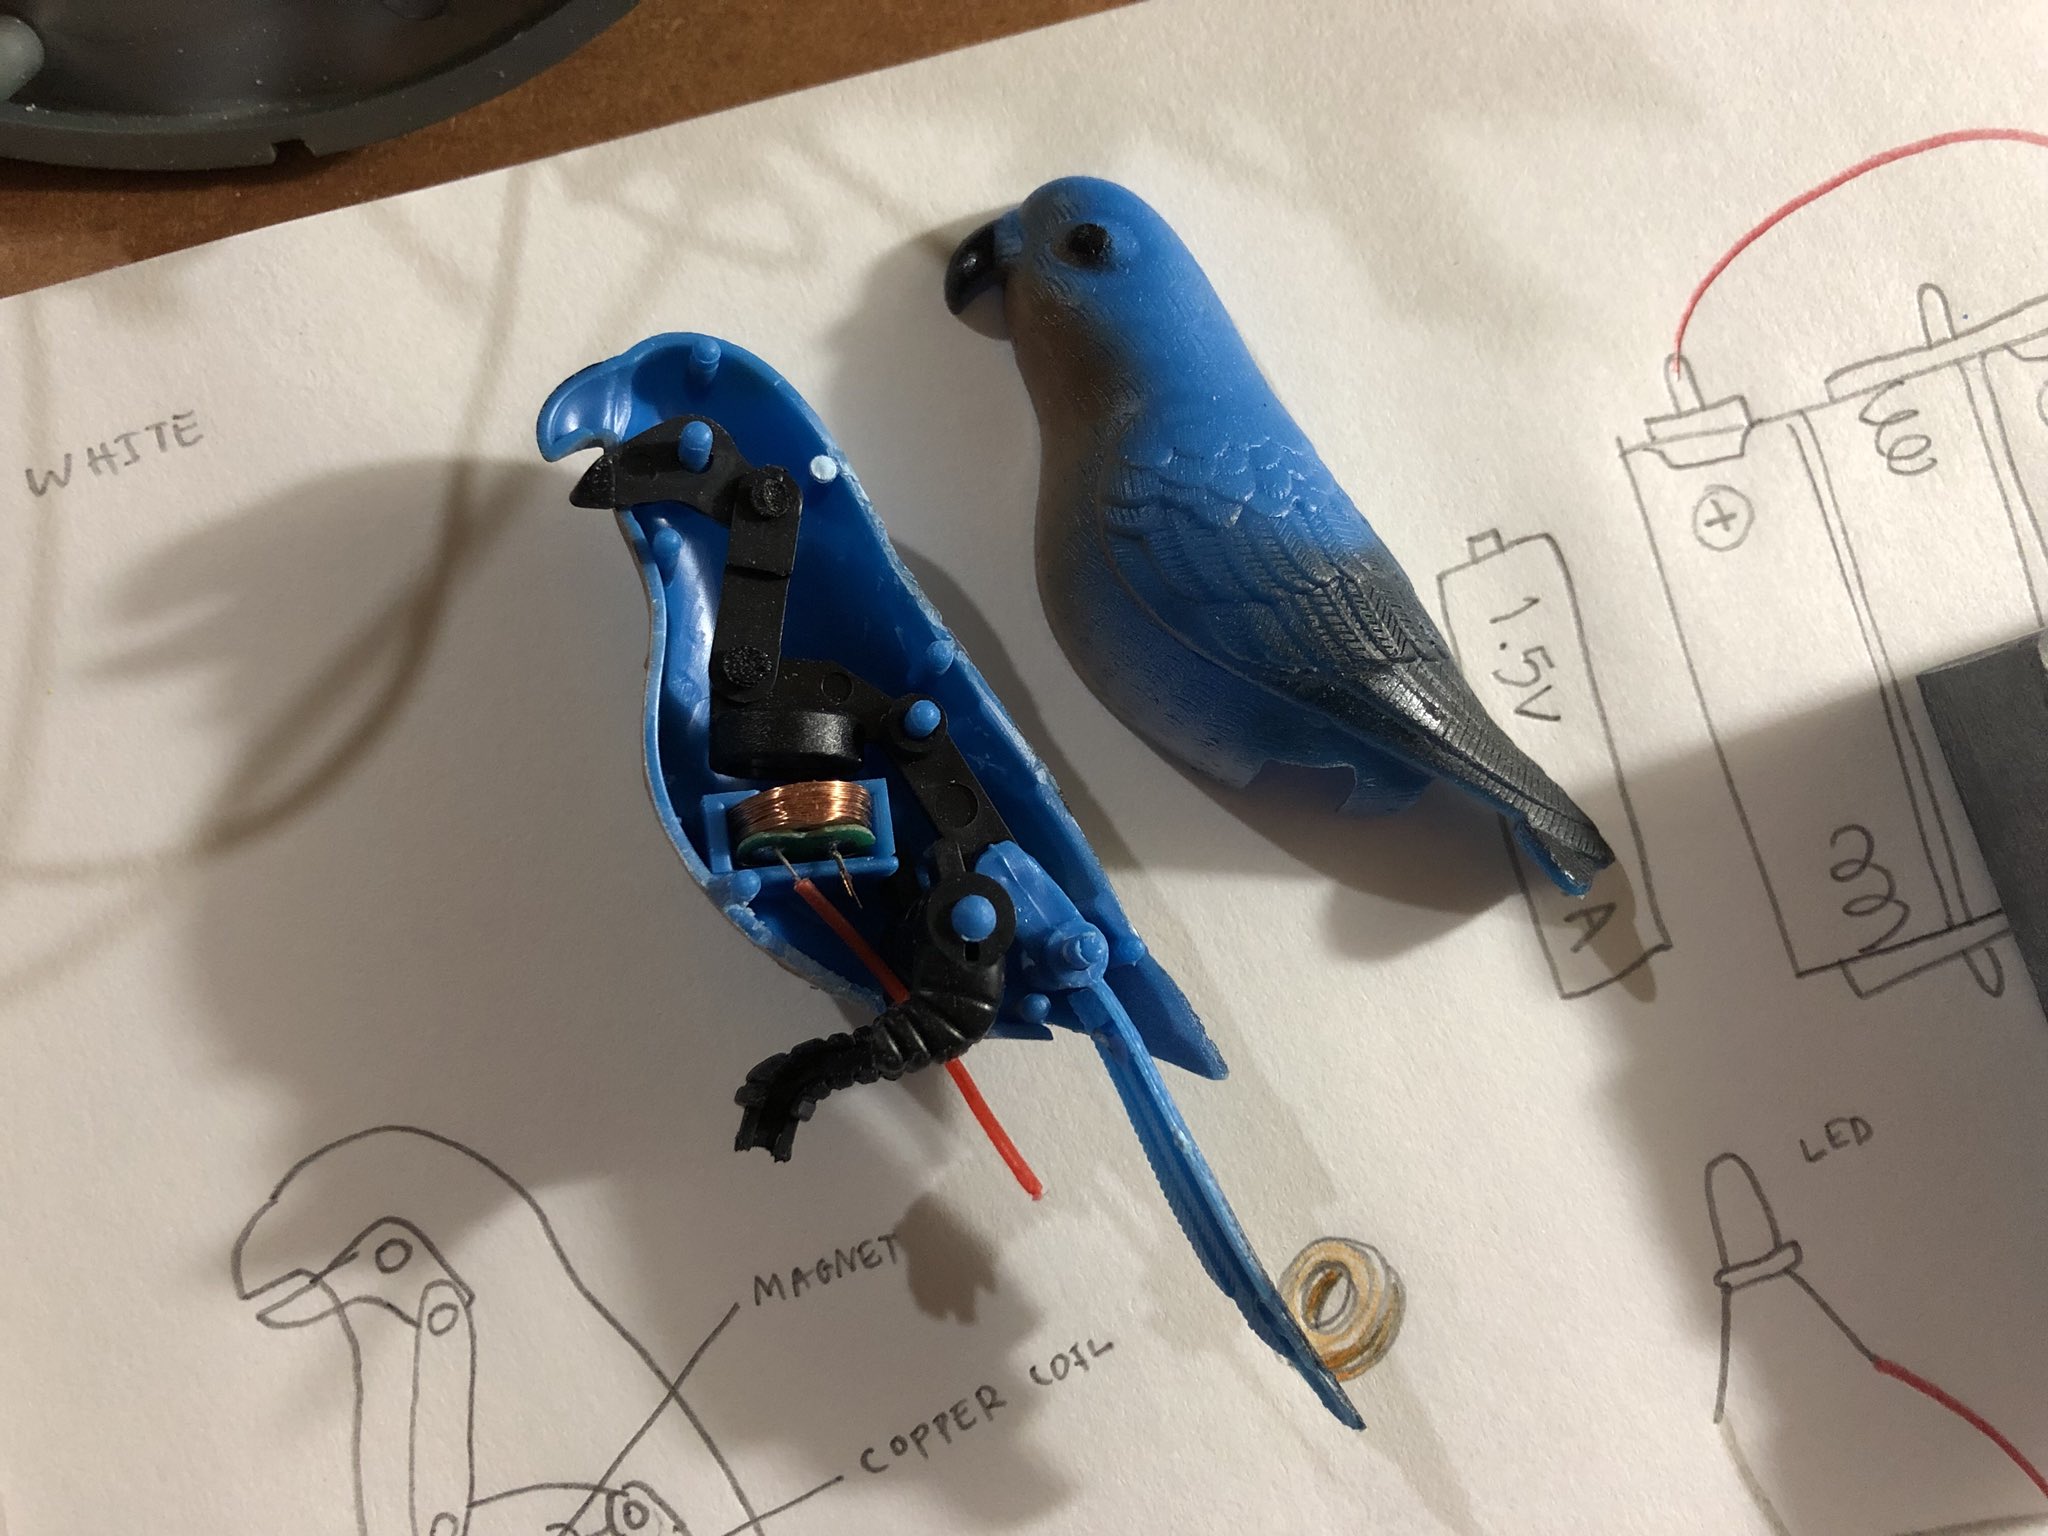
Bought this 10$ chirping bird, mouth and tail moves. Let’s see if I can learn all its secrets, and build a bigger bird, for my set
March 21, 2019
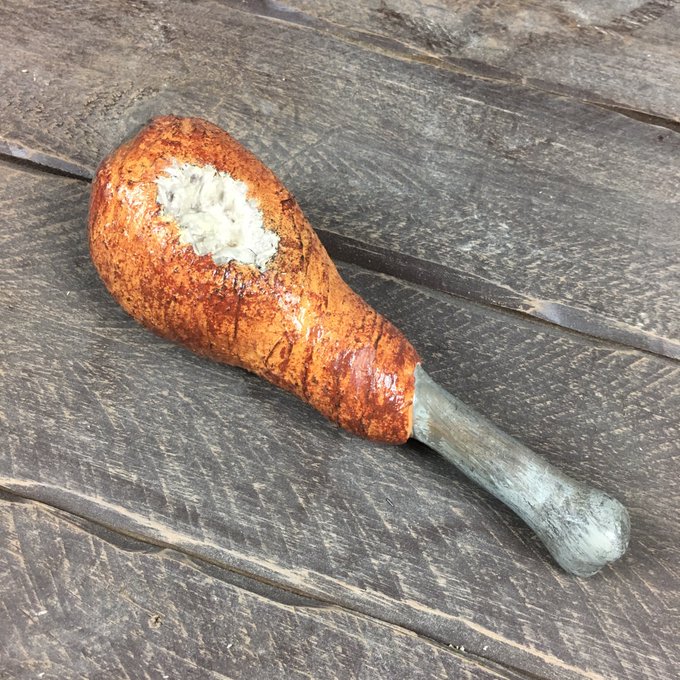
A chicken leg prop I made using Crayola Model Magic and some acrylic paint.